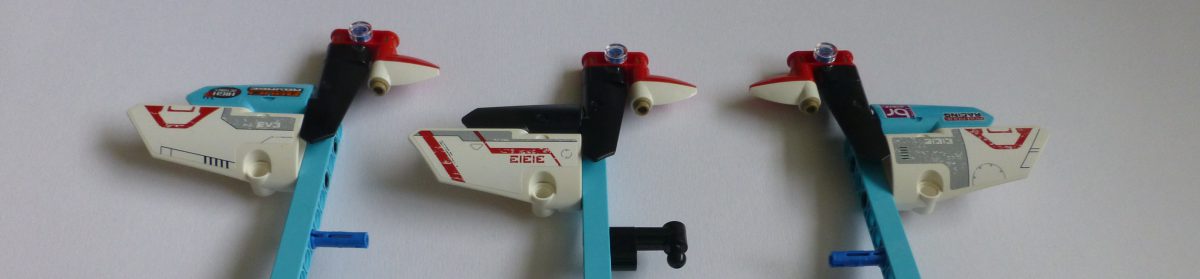
Okay, so I’ve been rather quiet on the blogging front for a few weeks – that’s because I’ve been working on getting my Plott3r to write out text:
Here’s a video of it taken a little while ago (prior to some of the improvements I’ve made):
This has been rather a journey of discovery. I’ve blogged previously about getting a bluetooth message to the EV3 and how I needed to work out a font.
Font
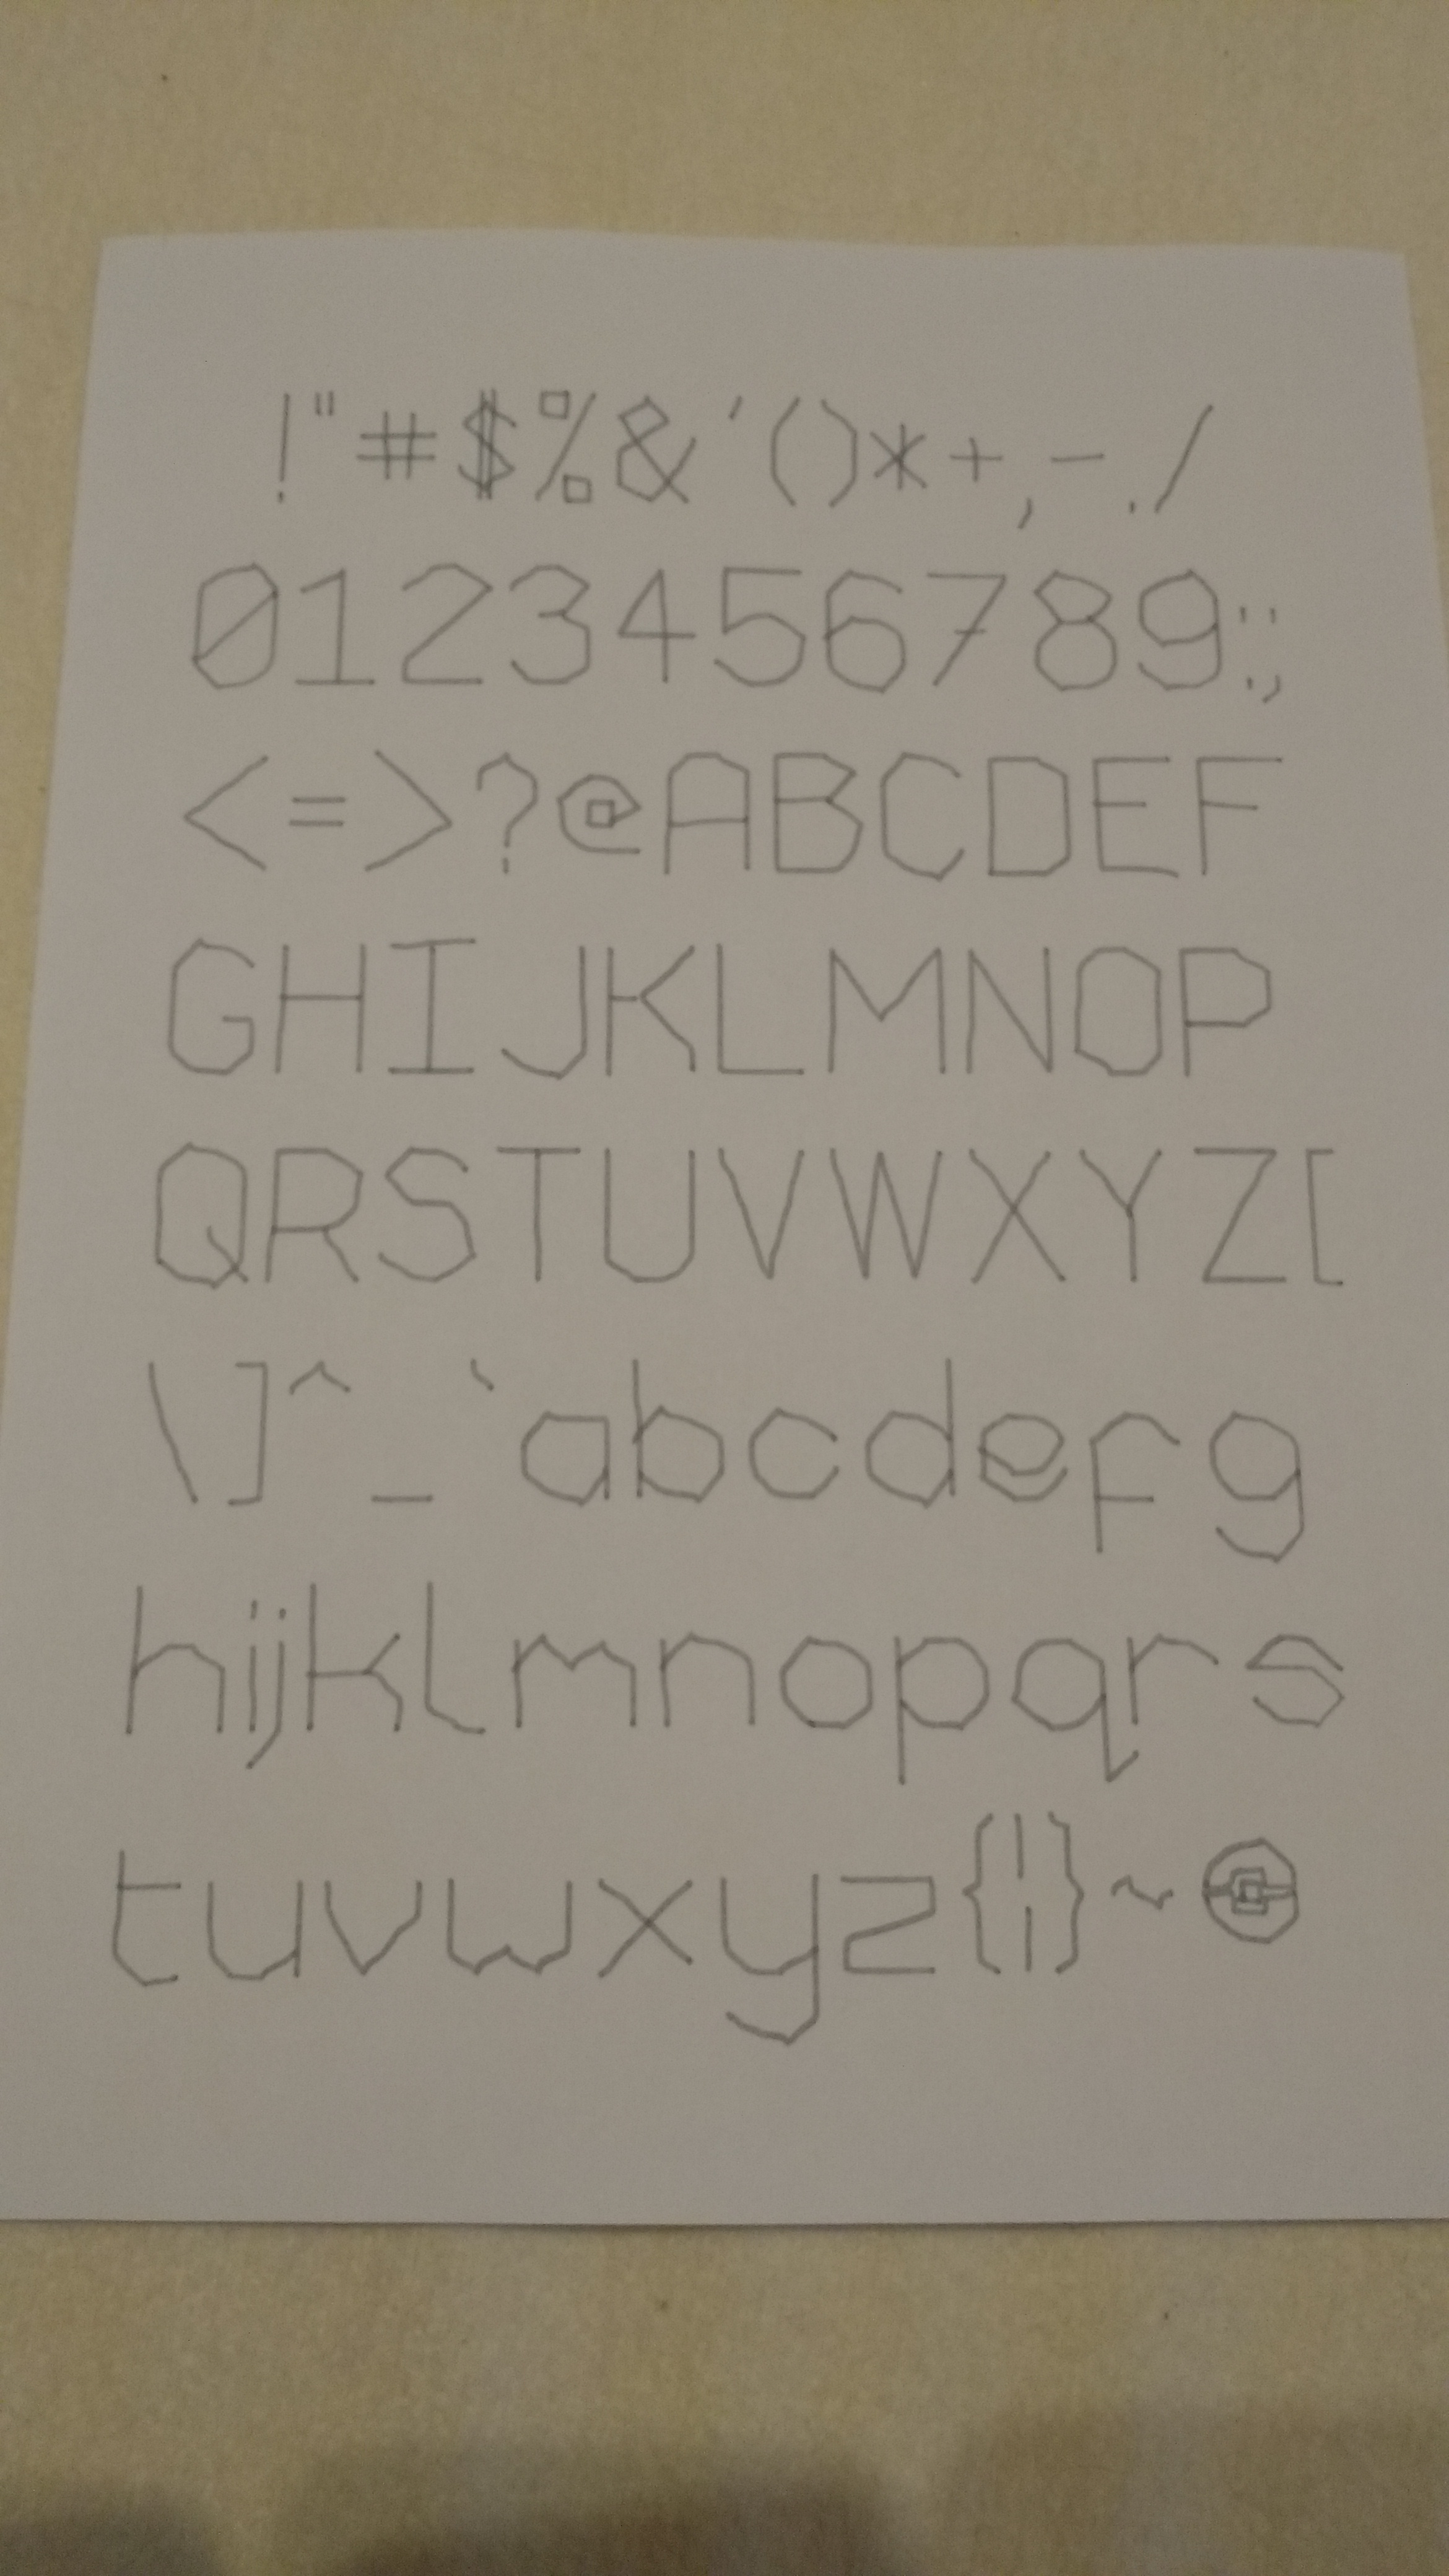
The font itself didn’t prove to be that tricky to work out; it’s mainly been planned out on 5mm graph paper and simply converted into coordinates. I’ve tried to have it write the letters as a Left->Right writer would, so starting on the left side of each character and probably ending on the right. This way moving the the next letter doesn’t involve a lot of travelling.
Backlash Correction
One thing my Plott3r has, is an effort to manage backlash. Since the paper and pen change direction regularly I have a system that pre-moves the paper/pen a little prior to any change in direction. One thing I hadn’t realised before is that if I want to move a really small amount I could overshoot where I wanted to be just in my backlash correction. This would cause some oscillation around the correct location in some cases. For example, look at the centre of the spiral below:
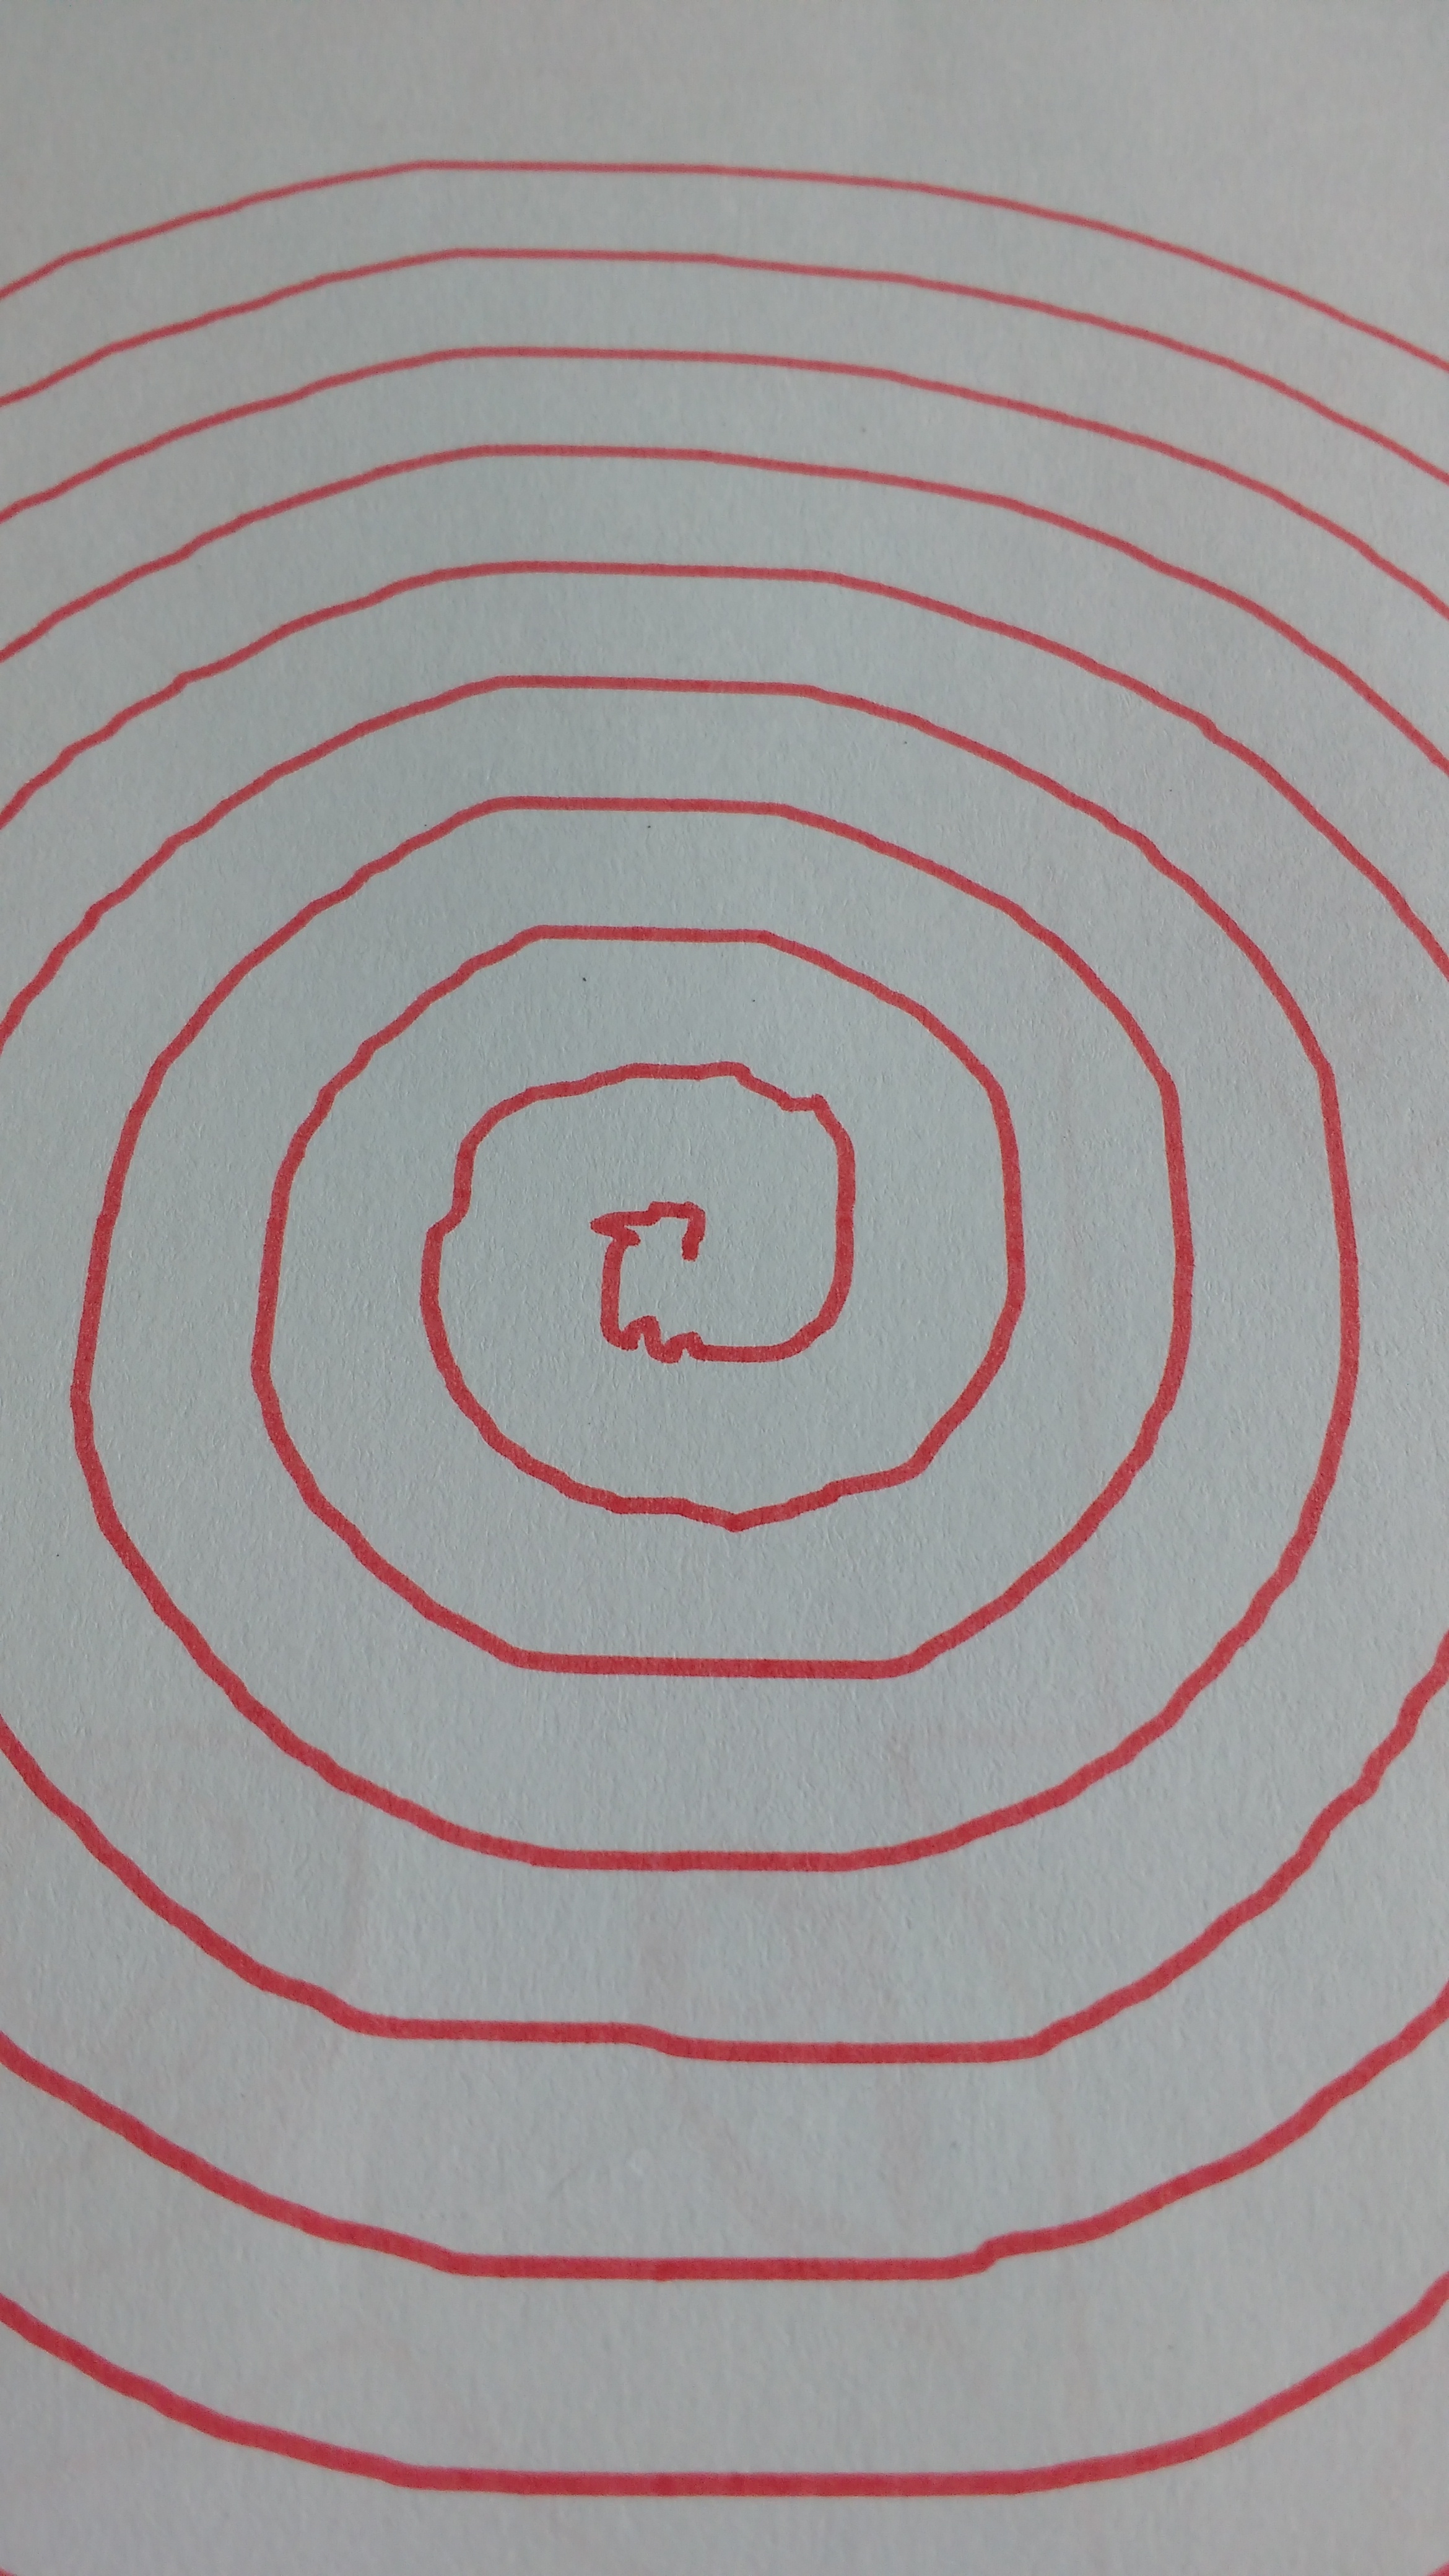
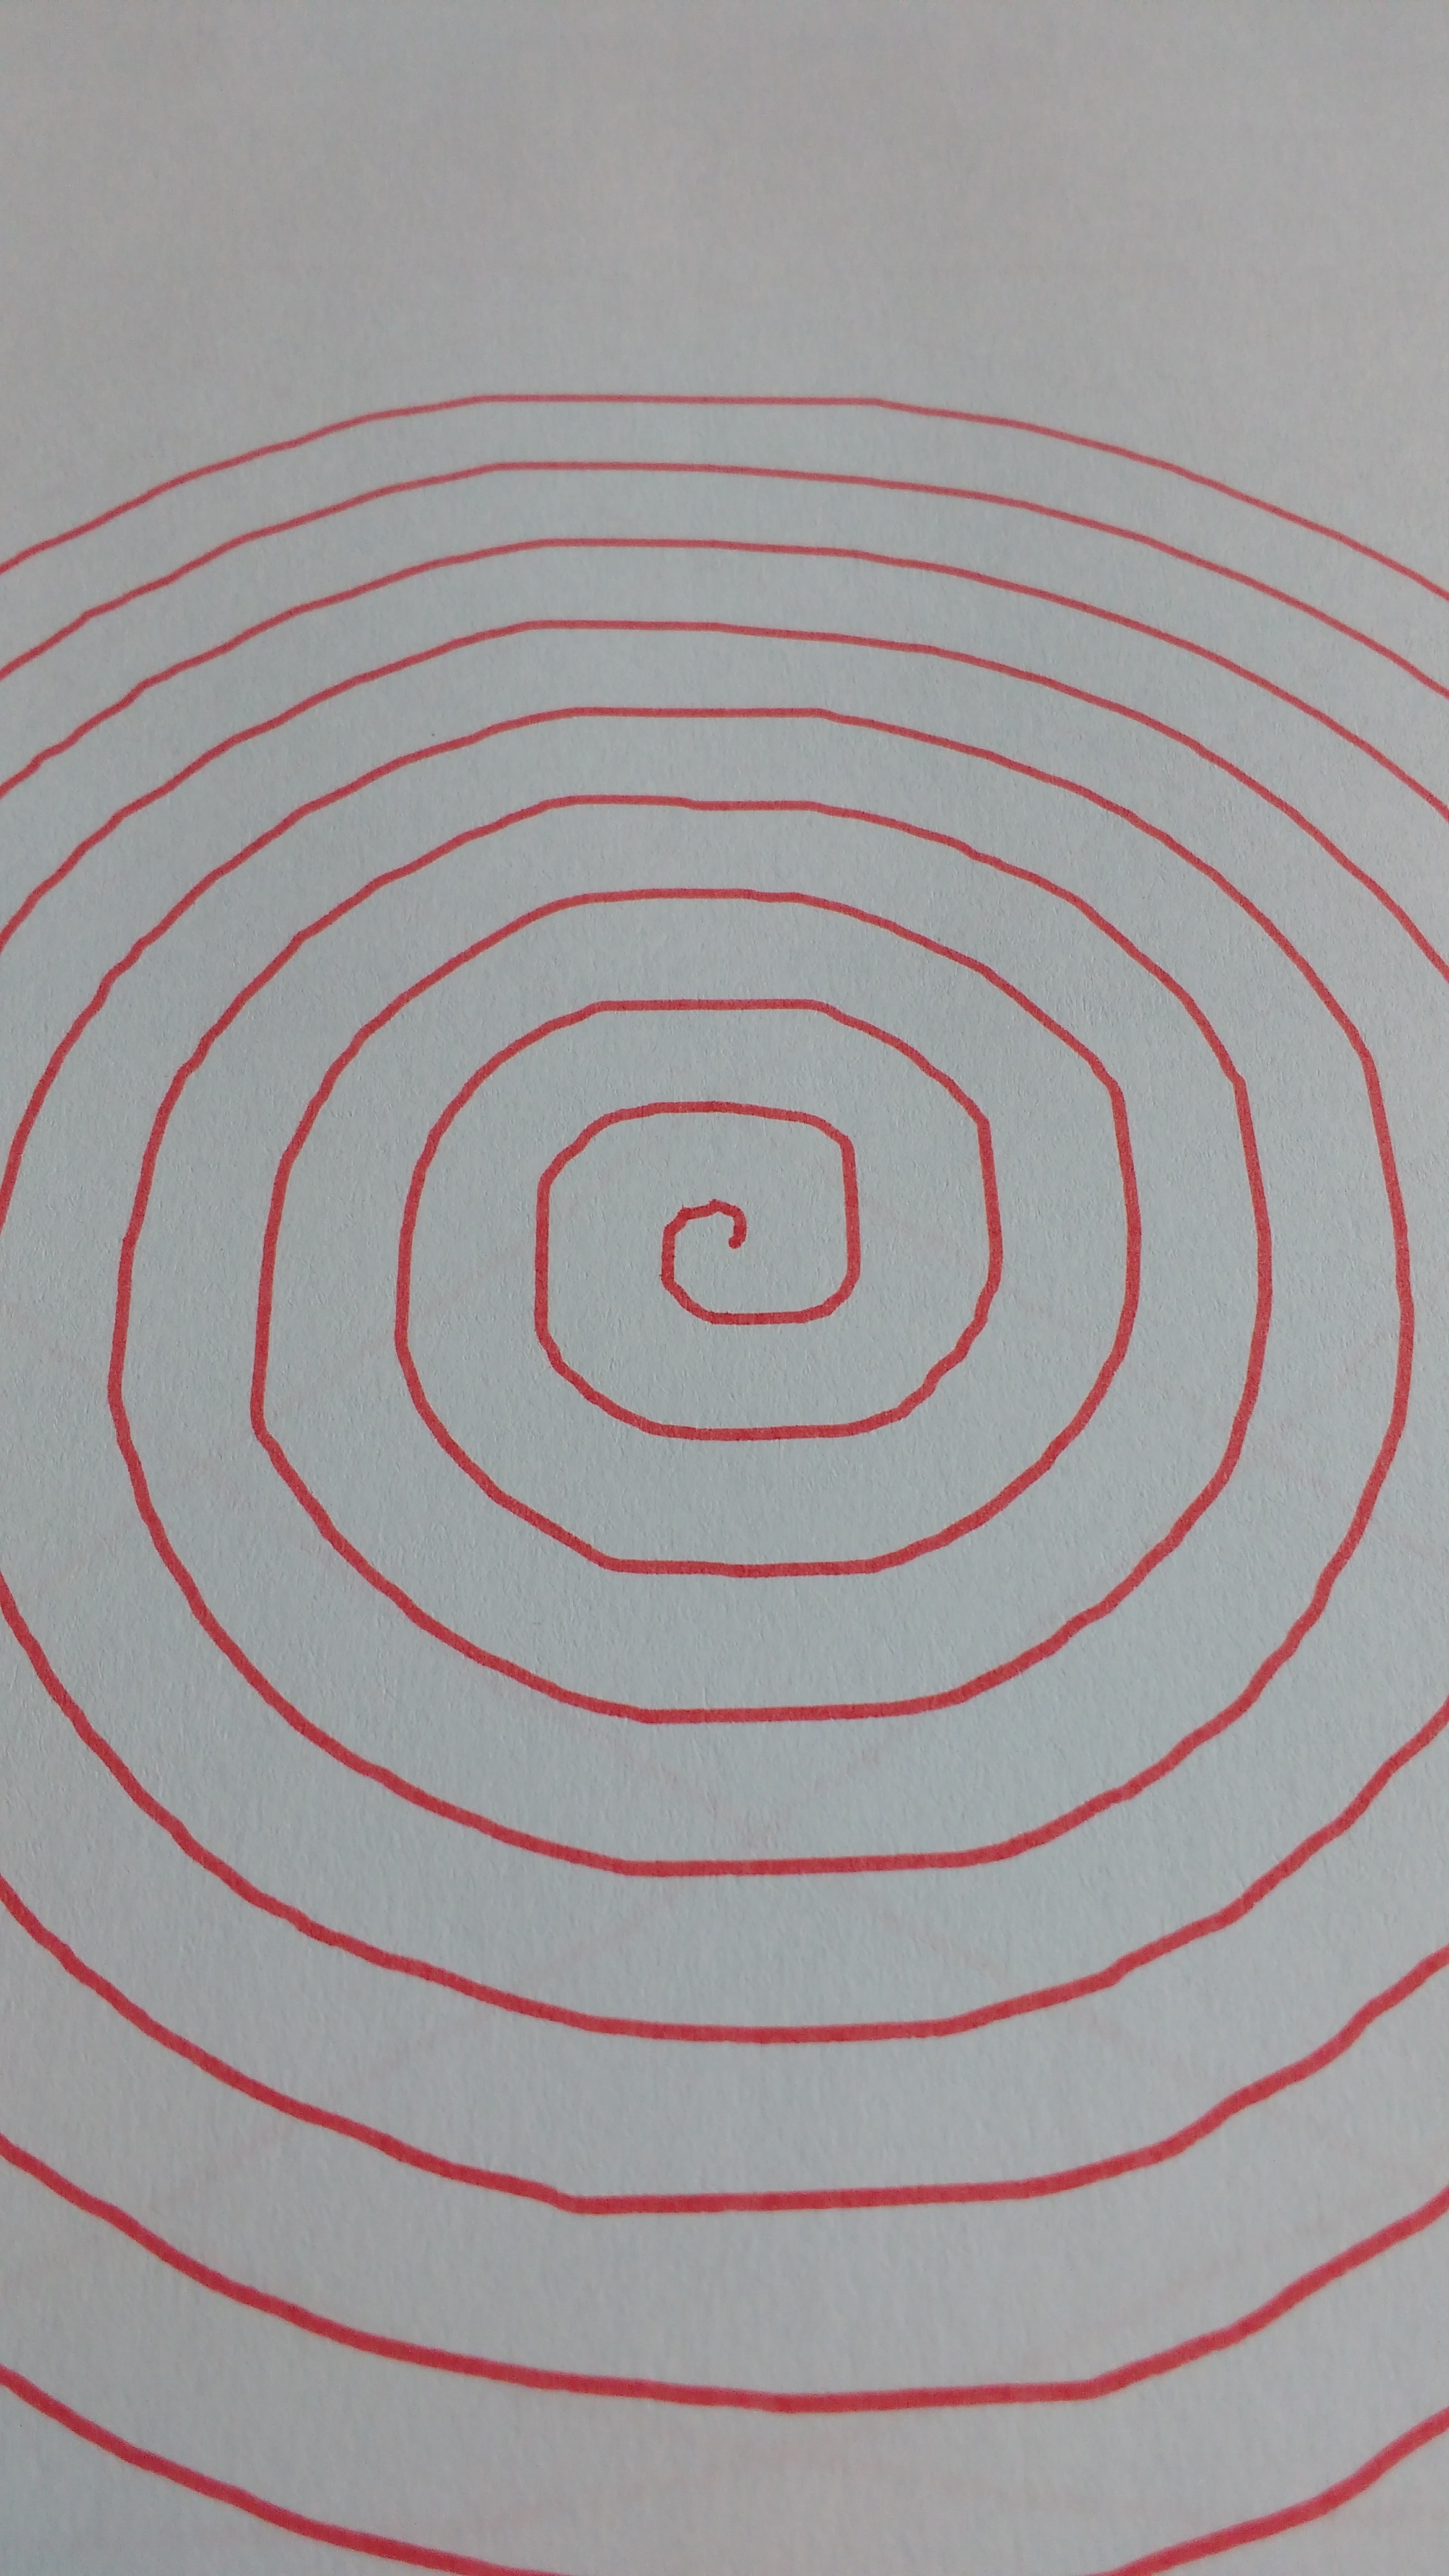
The centre of the spiral is crooked due to the pen “seeking” around the correct location. My solution to this was to measure where I was before the backlash correction, and after. If I had overshot, then I did not move that particular axis. The results of this improvement on the spiral are below:
Android App
I wanted to be able to send a message from a spare Android phone to the EV3. Here’s where App Inventor 2 came in. I had to learn how it worked, along with learning its Scratch-like language, and implementing some fundamental routines, such as storing an IEE754 float. The current instance of the application looks like:
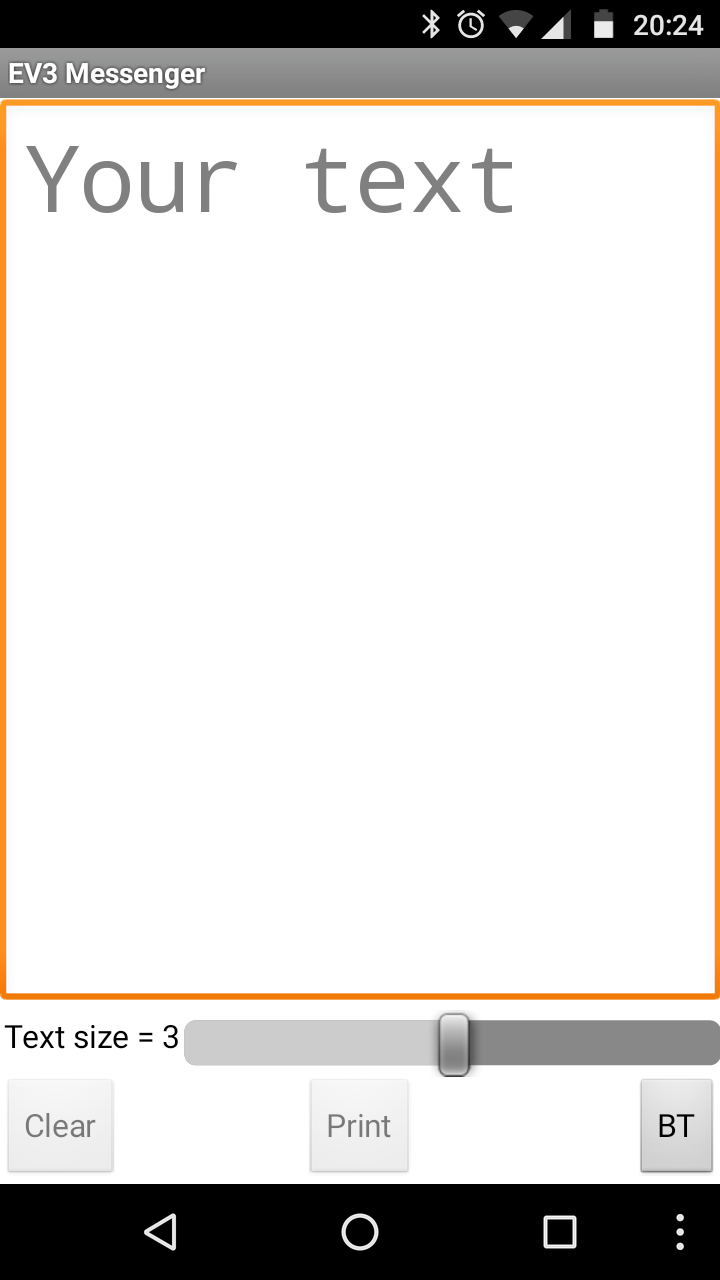
The user can simply choose between 3 text sizes, and then write their message and press “Print”. The BT button is used to set up the Bluetooth connection and the name of the sending device; this is needed so that the EV3 can acknowledge message it receives. I found that if I didn’t ACK the messages there was a race condition whereby I’d get duplicate values with the second “overwriting” what the first should have been. The core code of the messaging app is below:
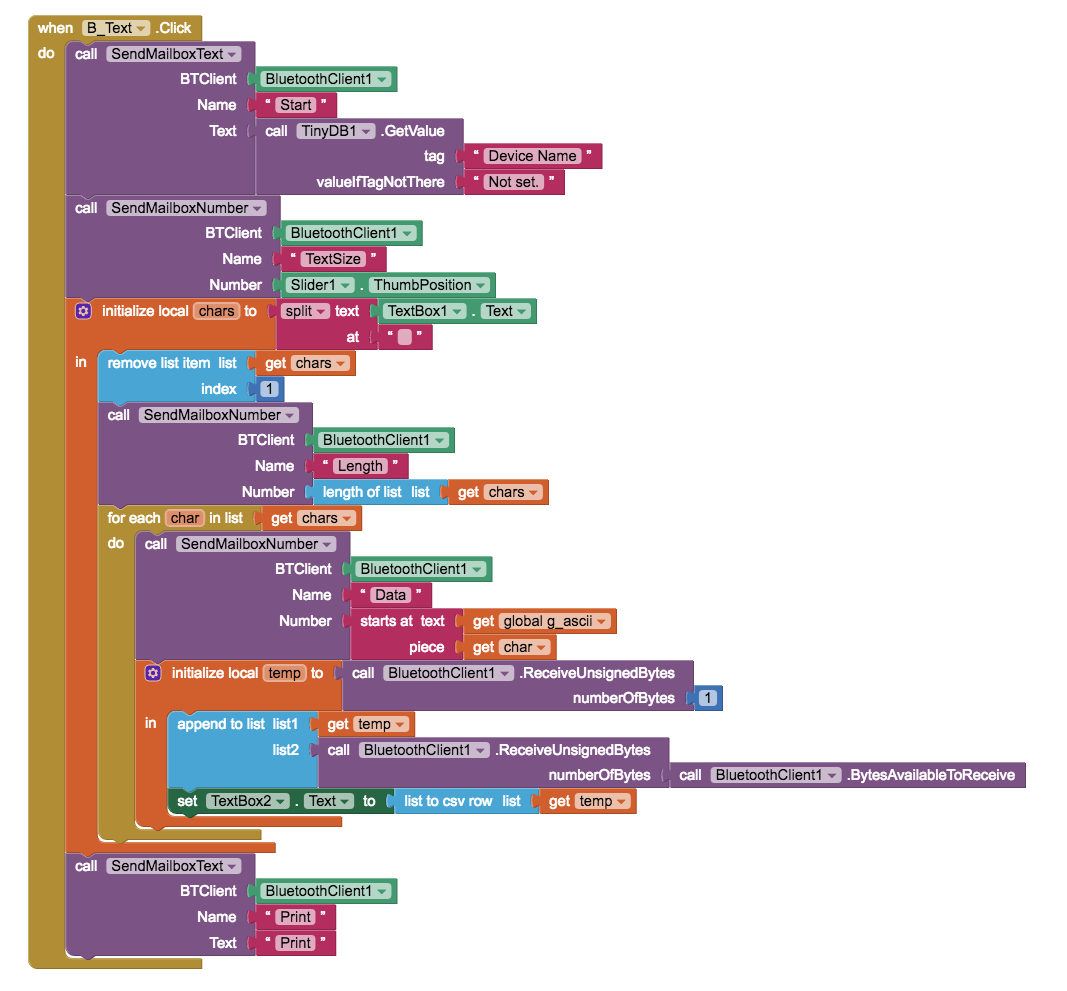
At the start of the block you can see it send its name, and towards the end of the block it waiting for a bluetooth message. It doesn’t care about the contents of the message, simply that it got one. The EV3G side of the code is as below:

What’s not shown is the plotting code as that’s quite complex. It keeps a tally of the location of the last plotted character and works out if the next one will fit; performing <cr><nl> if needed. The font is variable width, and has a small amount of “kerning”, so that letters such as ‘j’ and ‘q’ can overlap the inter-character space.
Letter Sizes
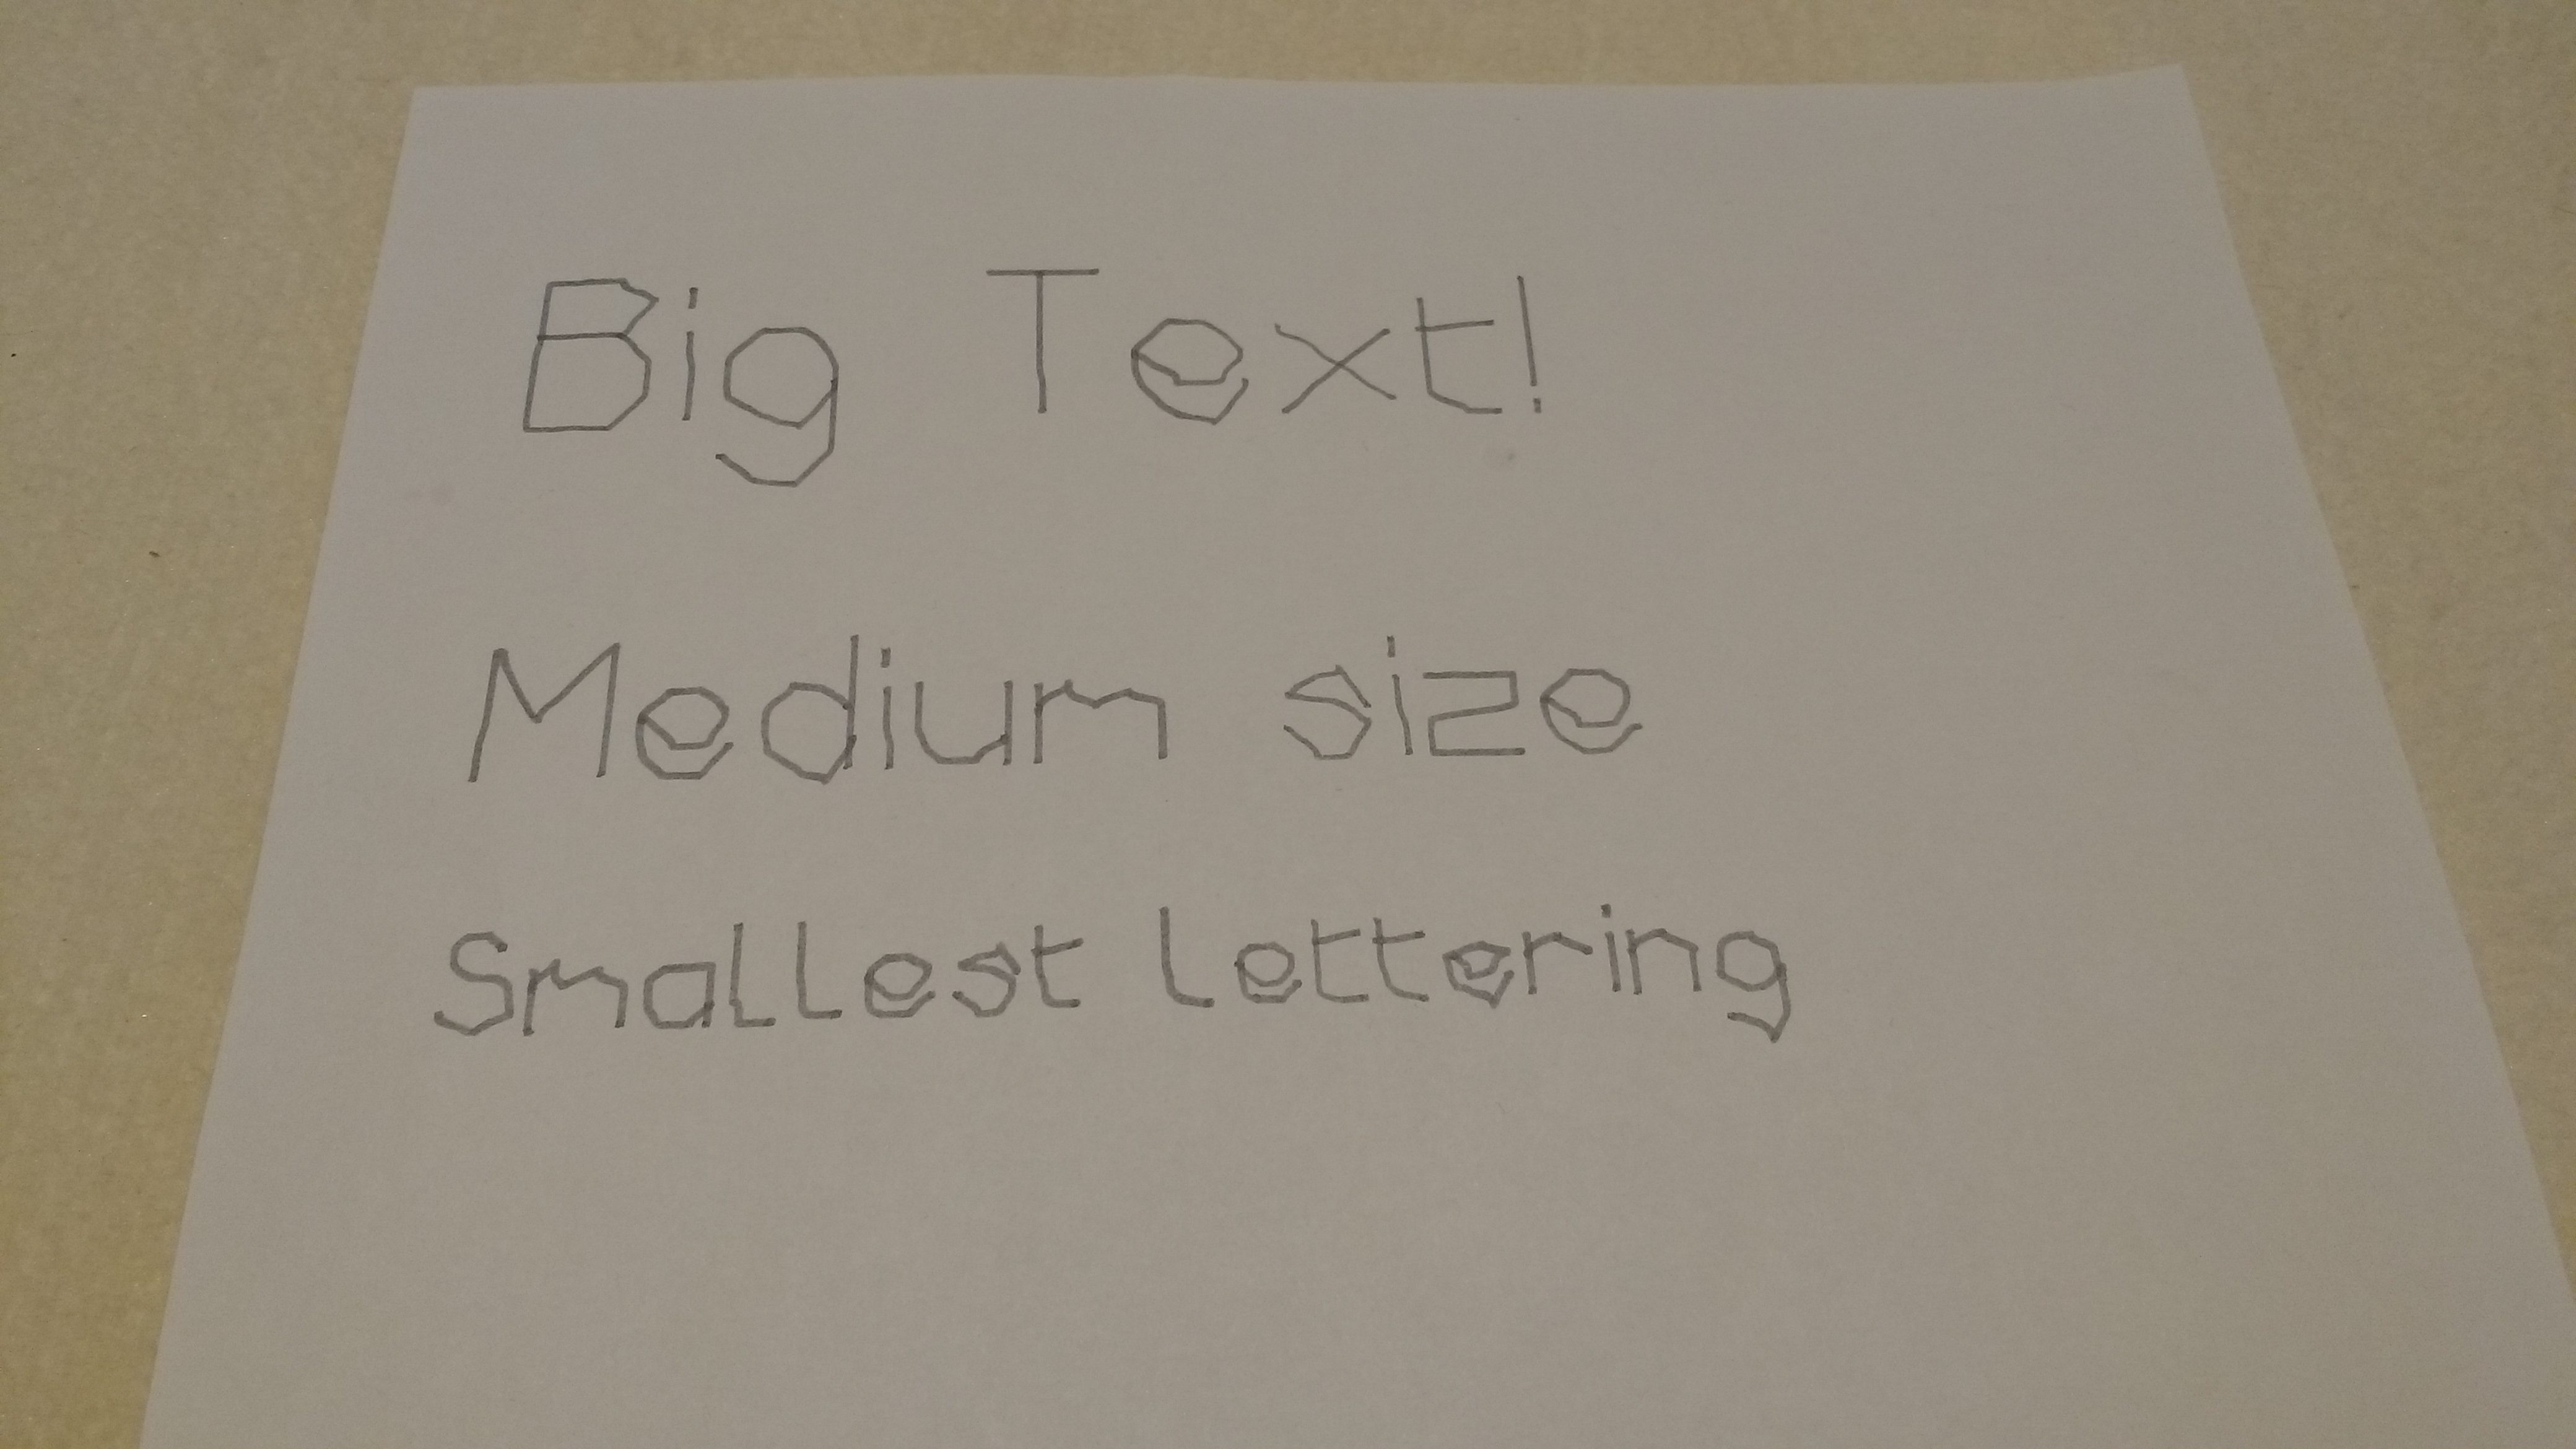
I originally was only going to have one letter size, but this would allow for only around 11 characters per line, which isn’t a lot. Shrinking the letters will result in more artefacts, which I’ll come on to later, but I think it has a certain “hand writing” charm:
Artefacts
There are a few artefacts that I’ve tried and tried to remove. I now think I’m simply fighting with the simple fact that it’s made from LEGO bricks and I can only realistically get a certain level of accuracy in the way I’ve built it. The main artefact left is as below:

If you look at the top and bottom of the 0 (zero), G and Q, there are small overshoots on one side of the diagonal. I think this is down to using Tank Move and the Y axis motor overshooting the target before moving back a little – a result of the internal PID controller.
Signing Off
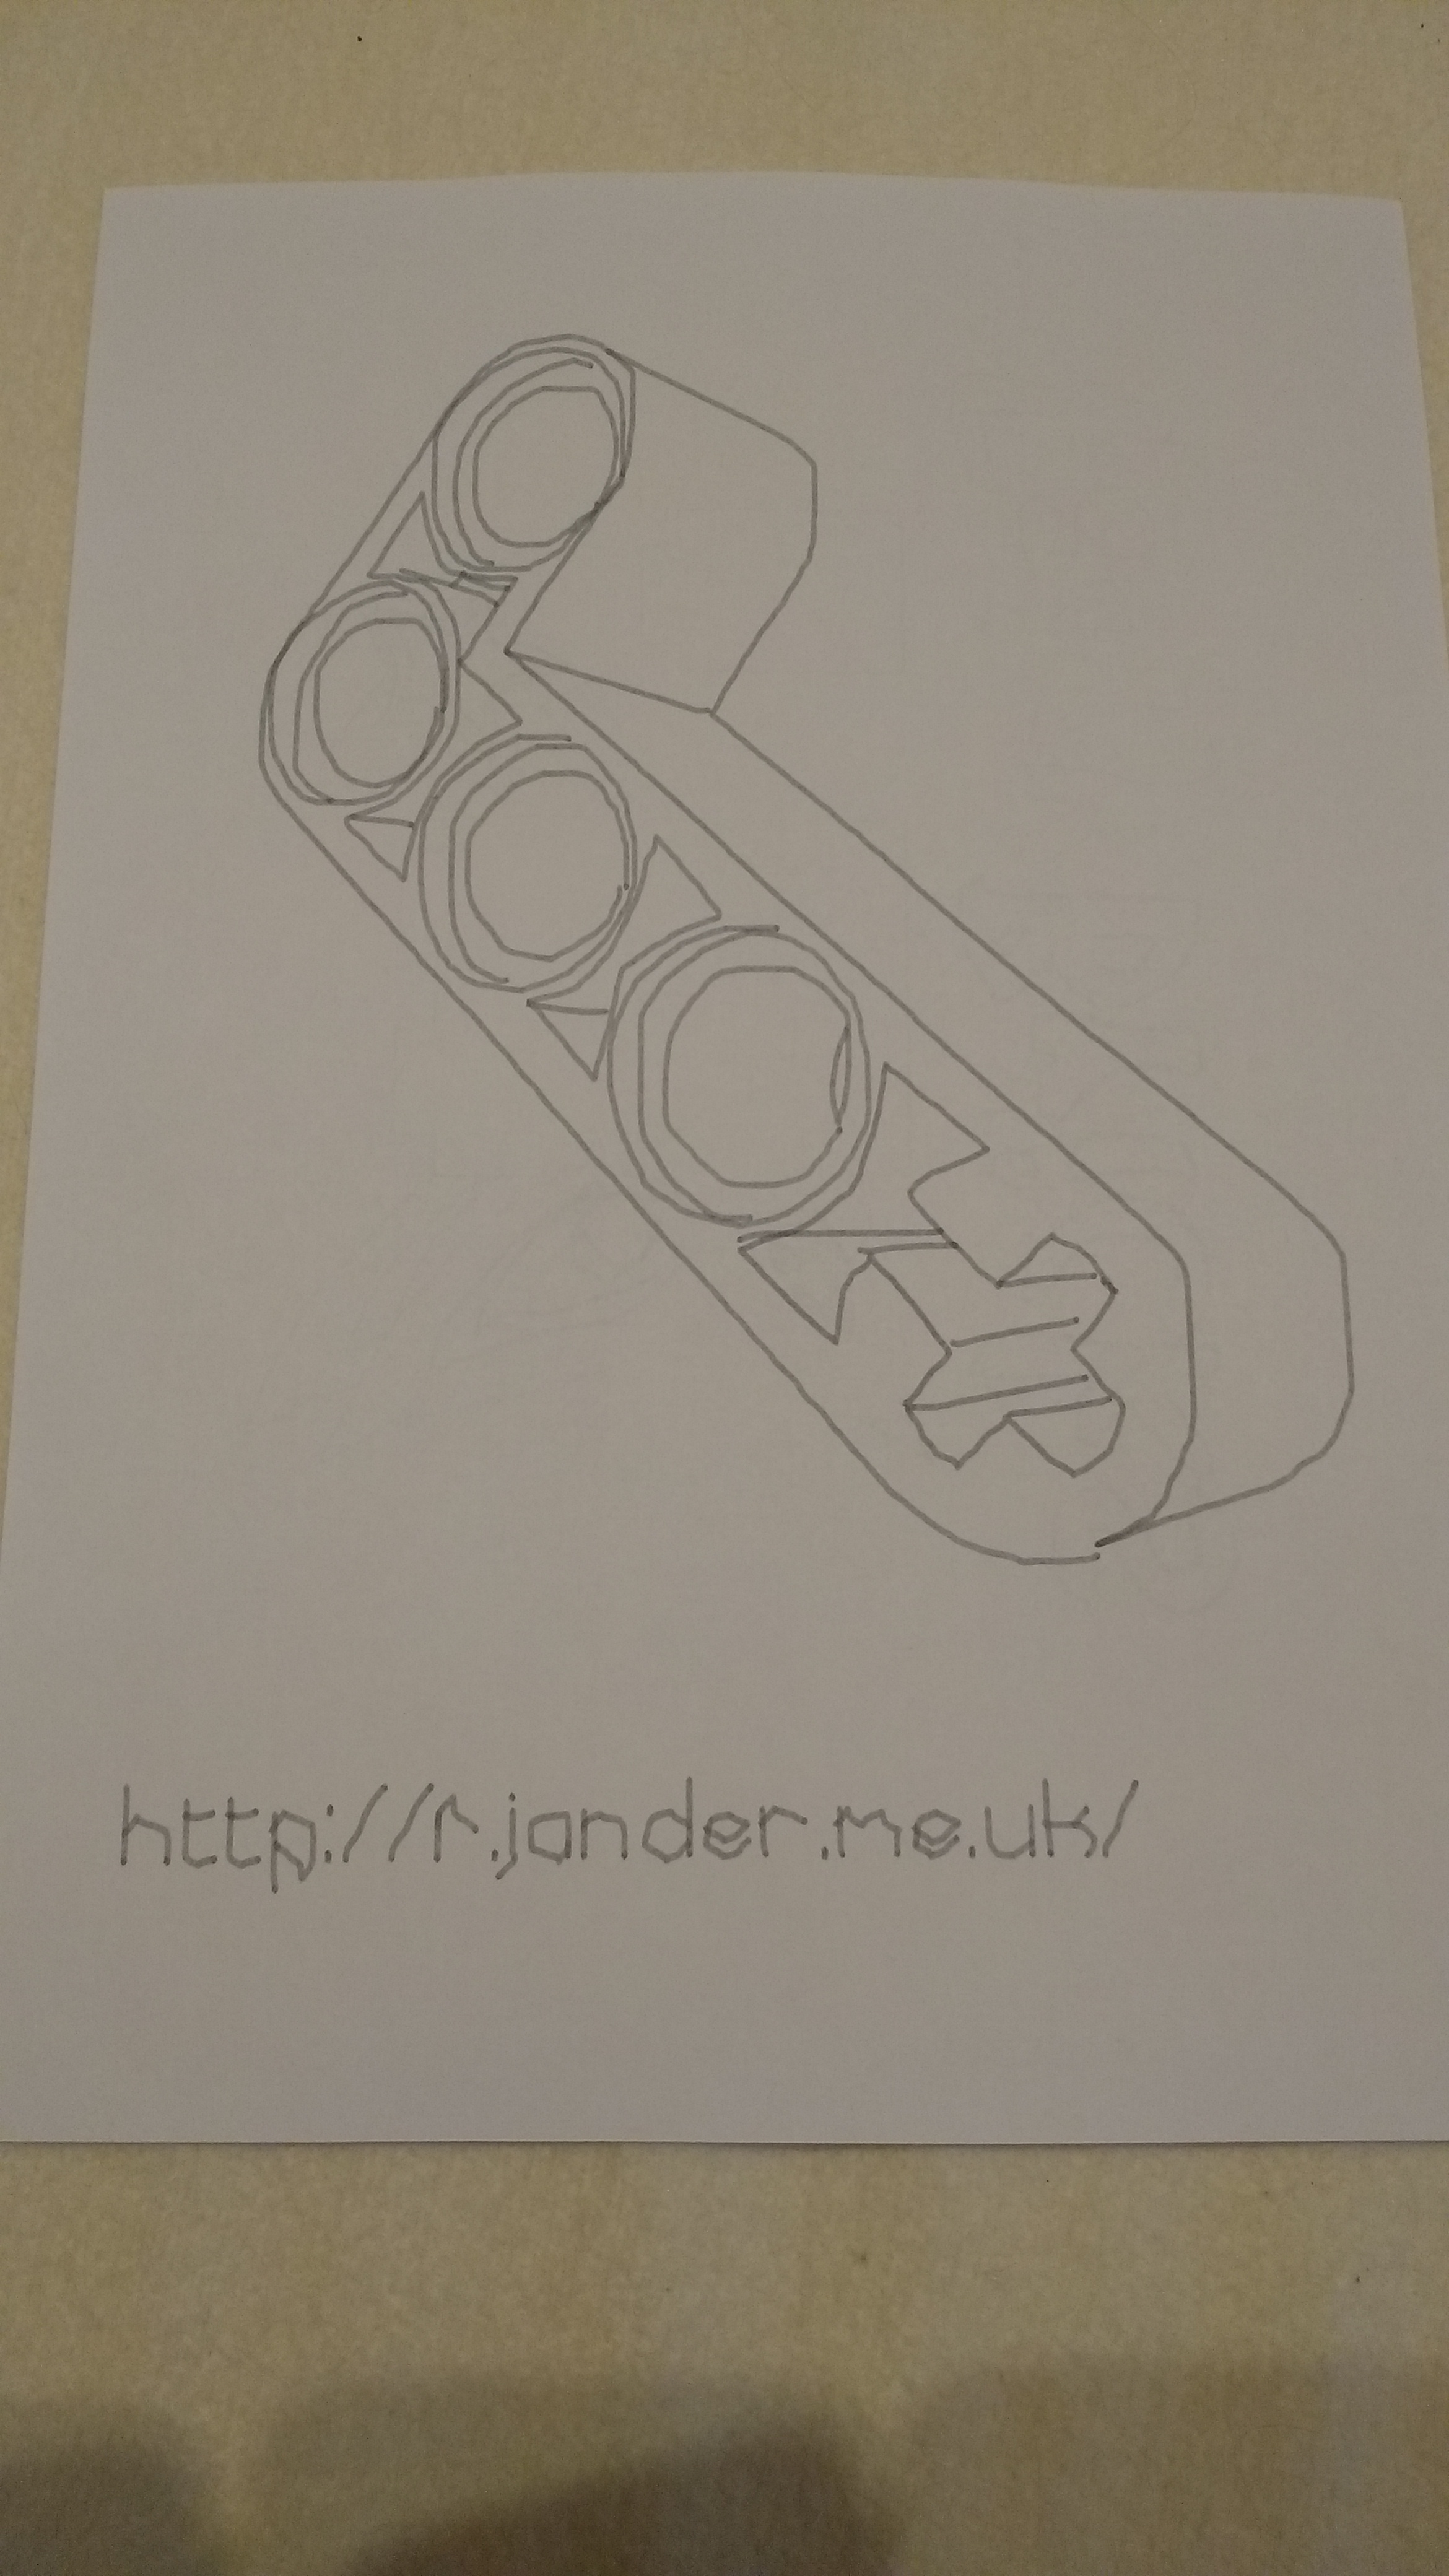
I’ll be showing this off again at Bricktastic this year, hence all this work. I’m pleased that, due to my desire to plot text, that the backlash control is better. I figured that I’d have the Plott3r do one more thing. It now “signs” its plots with the URL to this blog 🙂
I now need to put this to bed for a bit whilst I check that all the other models still work. Then I need to get back on with my Loom – I need to do a little bit of programming for that ready for it to be shown off too.
What is in the “My Block”?
It’s just some simple maths blocks to set up the X & Y sizes of the letter boxes based upon the received text size.