A little while ago I posted about my new cloth winding drum. Up until that point a lot of it had been built, but I still didn’t have any of the 1L worm gears needed to drive the turntable ends to the drum. Only the 3D LDraw model showed that it’d work.
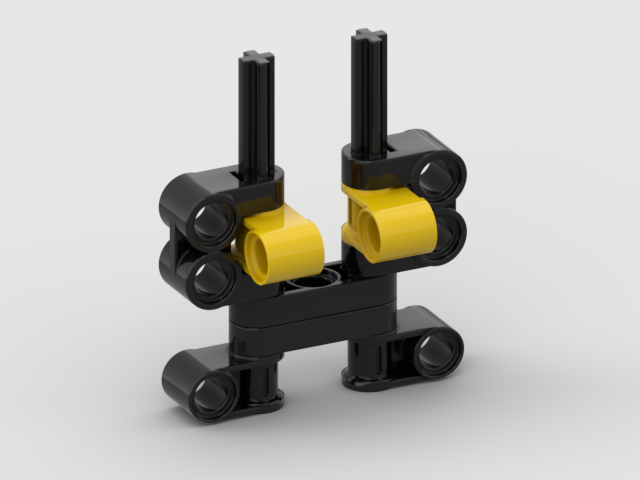
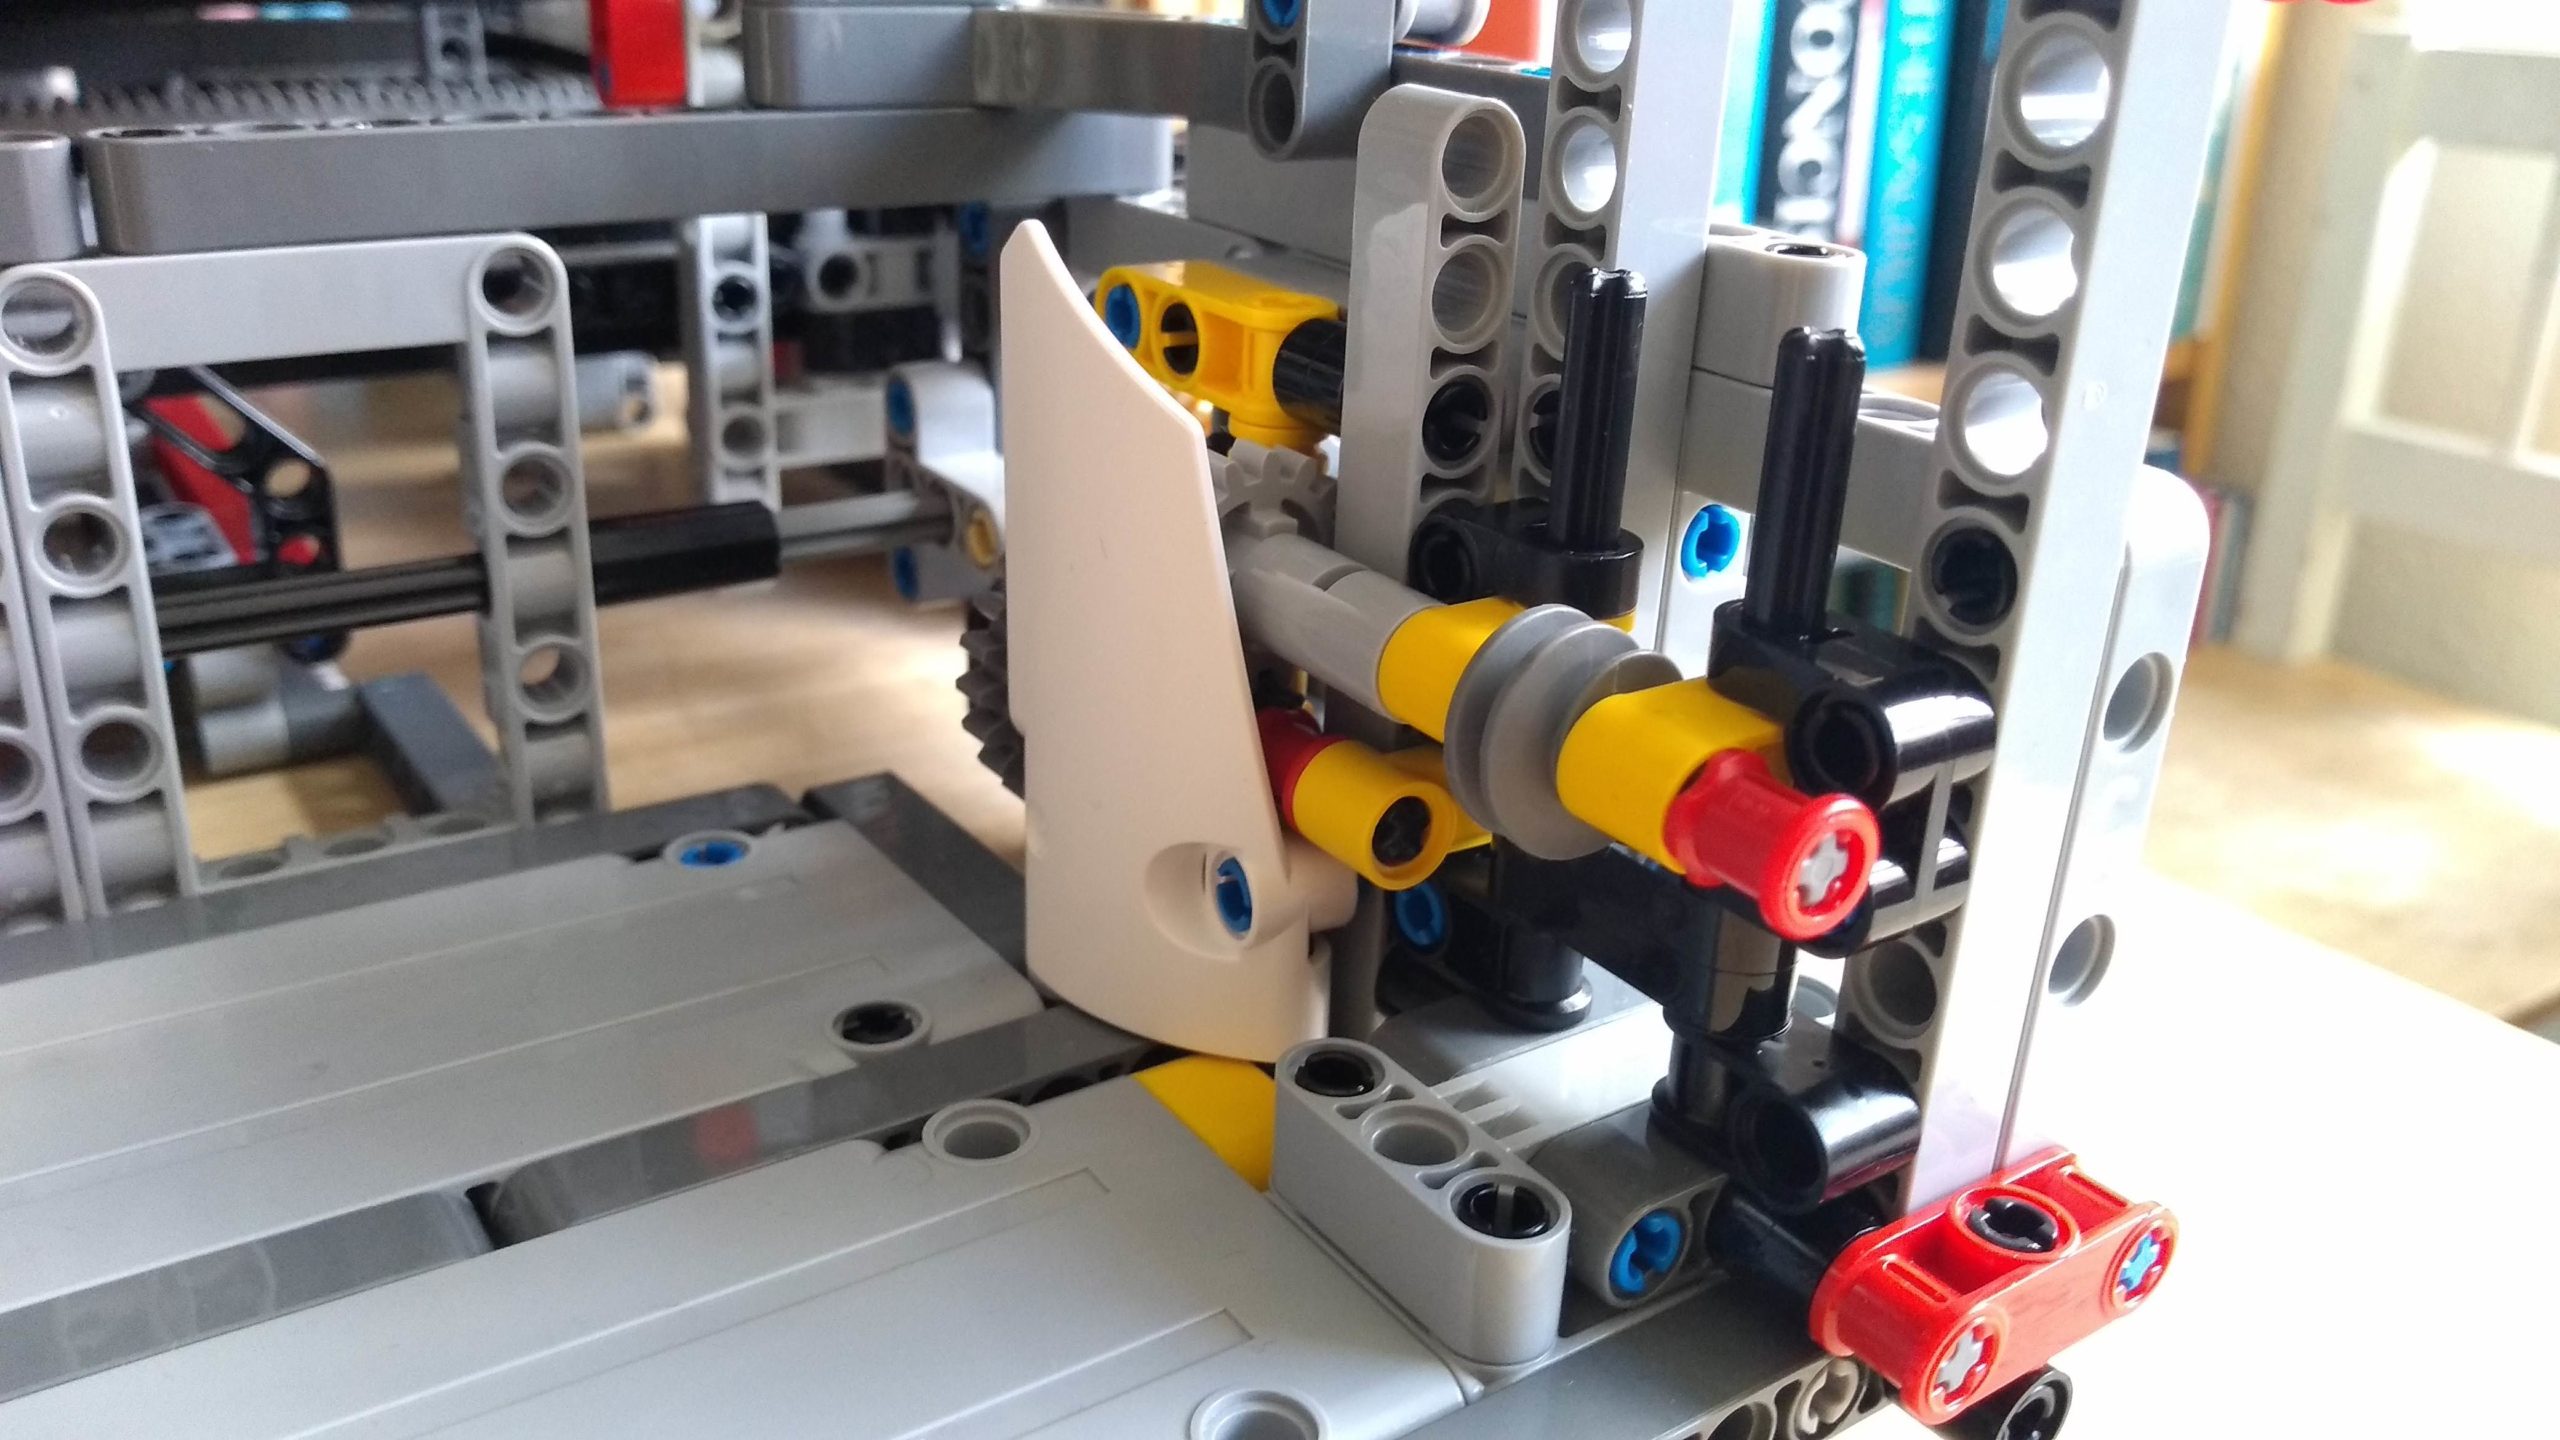
Since then, I’ve given in and ordered some via BrickOwl. I finally had the opportunity to test the build out and, unfortunately, it didn’t work as intended. The turntables could easily skip off the worm gears under load – loads which it’s likely to see in operation due to the tension in the warp threads. A little bit of investigation showed that the structures that were holding the worm gears in place were flexing under load. There was nothing to stop the split cross-blocks from rotating a little. Since then I’ve redesigned that section to stop that rotation:
Redesigned worm gear support
This appears to work perfectly 🙂 . Without risking breaking something, I am unable to cause the worm gears to skip on the turntables.
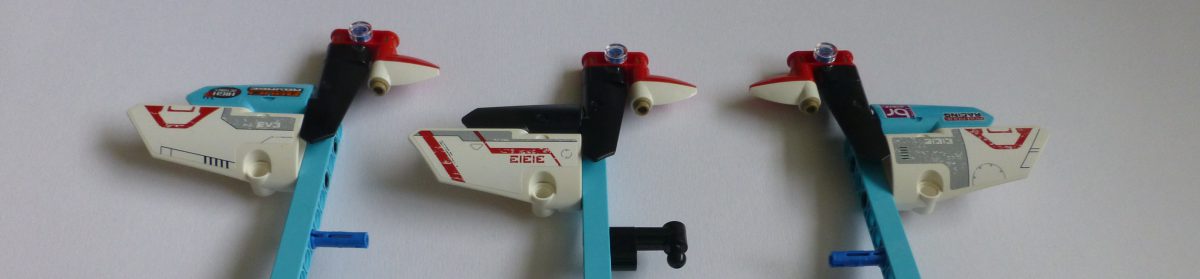
A few photos of the real cloth drum and its update:
Complete cloth winder, with drum in-situ.Drum removed.Drum removed.New worm gear and its strengthened support.Worm gear meshing with the drum’s left turntable.
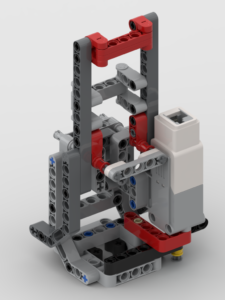
The LDraw model has been updated to include the new support:
For some time now I’ve been using the excellent EV3DPrinter, designed by Marc-André Bazergui. The original information on this model can be found at https://www.instructables.com/id/NEW-EV3Dprinter/
To help rebuild his model, Baz had produced a 3D model made in LEGO Digital Designer. That software is almost, if not, obsolete so it’s not so easy now for others to rebuild his model. When I’ve shown it working at exhibitions there has been great interest from people about building their own copy of it – to which I’ve responded that I really ought to make a step-by-step PDF of it for others to follow. I have finally done that.
My build of the EV3DPrinter has been modified. A few sections of it have been altered, and other things have been moved around – e.g. the Y-axis touch sensor is in a different location. In addition to changes to the model I wrote all my own code from scratch, so my sensor and motor ports are different to the original. In addition I have made BIs for an additional pen-holder for a different type of 3D pen.
Additional to the EV3 code you will need some data files for the 3D models, such as the letters or the castle:
These data files are in a zip file that will need to be extracted and all .rtf files downloaded into the EV3 in the same folder as the main code. This file can be obtained from:
Basket Lid – These two combined make a small basket with fitting lid
Tubes – A pair of intertwined tubes, a bit like Penne pasta 🙂
Stars – Make various pointed stars / cones
3D model – choose a test, boat, castle, and the parts for the FLL logo
Letters – a menu of letters, for which the height can be changed
When the program starts it will initialise the mechanism. Both the X-axis and Z-axis have adjustable axle stops. The X-axis stop may need to be adjusted to get the base plate central. The Z-axis stop will most definitely need to be adjusted to get the tip of the pen close to the plate. My advice, before starting any printing runs, to manually move the Z-axis elevator to get the pen to the correct height and then alter the sensor axle at the back so that the touch sensor is just pressed. This will ensure that when you start the program that the pen isn’t accidentally driven in to the plate, or that the pen is too high.
After initialising, the program will ask what type of pen is in use: “press and hold” or “on / off”. The original type of pen, as shown on Baz’s instructions, was a “press and hold” version. The 2nd type of pen I have, you press once to start and press again to stop. The program will need to know what style you’re using. The EV3 will remember your last choice and pre-select that at the start of each program.