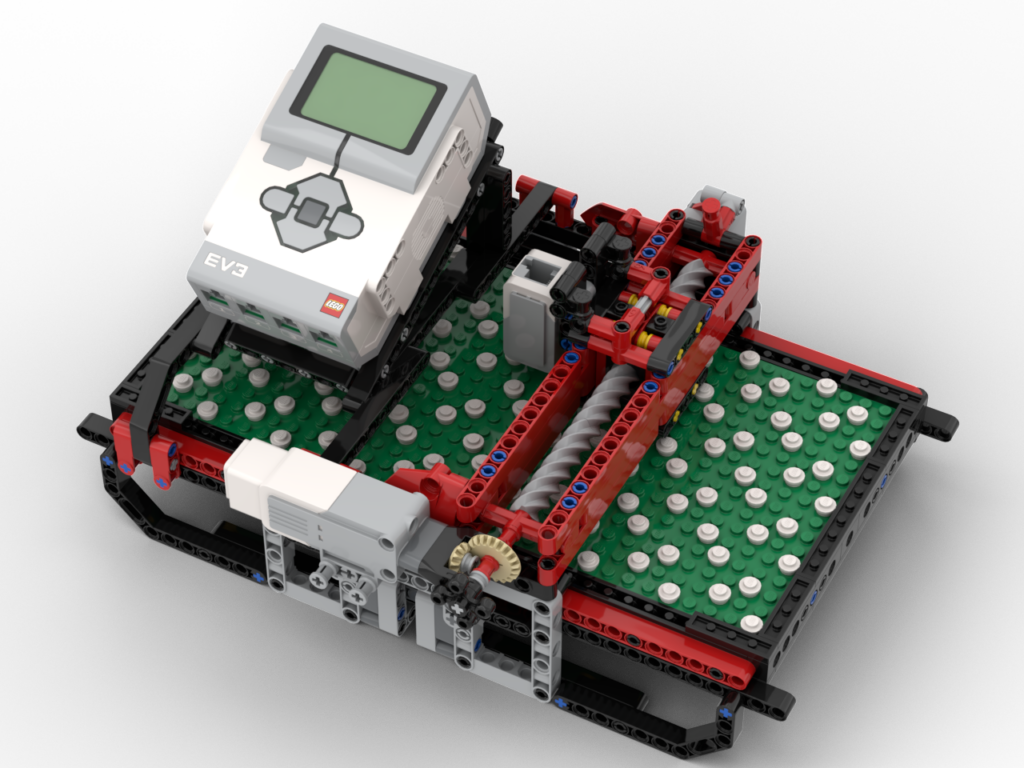
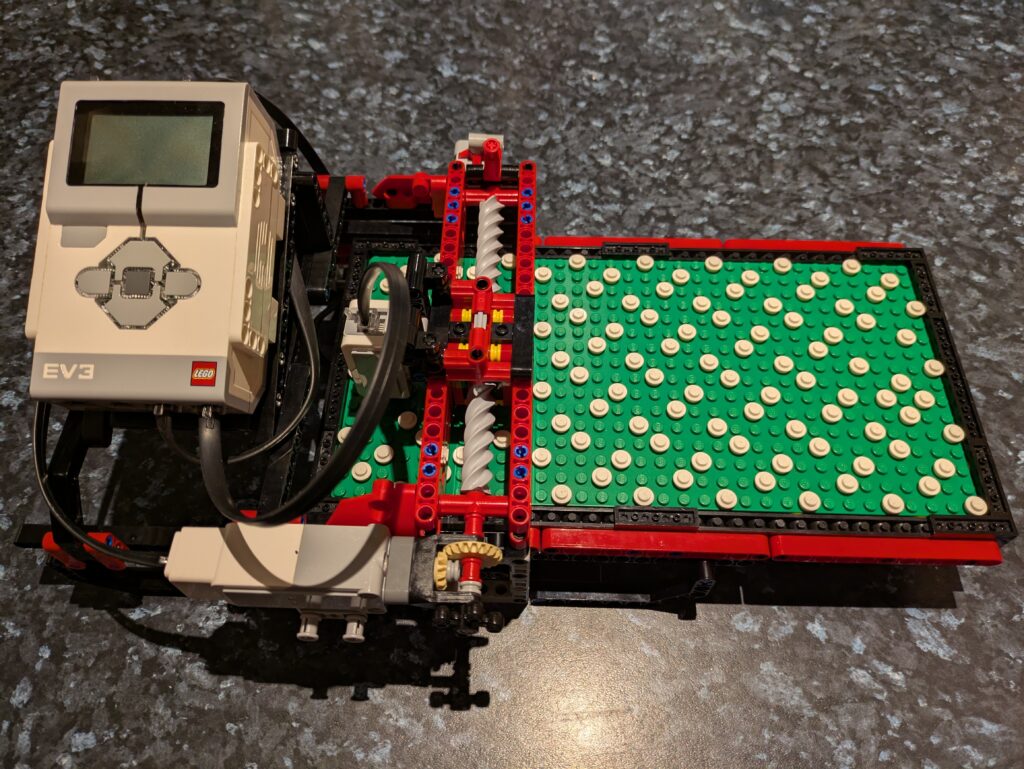
My redesign of the pattern board scanner part of my loom is basically complete. As it currently stands it’s a standalone scanner. It works ! It’s much faster than the old system and is really clean in its operation. I need to retrofit the new code into the loom controller code, which I’ll do in a few days’ time. Before that I want to deal with how the unit will sit on top of the loom, so I need to put the loom back into its operating state and get thinking.
Releasing the BIs and Code
Since this is working as a standalone device, and I’ve posted about it a couple of times on Facebook:
I’m, as usual, going to post the BIs and code for public use. I’m licensing them under the Creative Commons Attribution-NonCommercial-Sharealike 4.0 International licence CC-BY-NC-SA 4.0
There are no cables in the BIs – they’re a pain to route so I’ve left them out. The cabling ports and cable lengths are in the BIs. Routing them is left as as challenge to the builder 😉
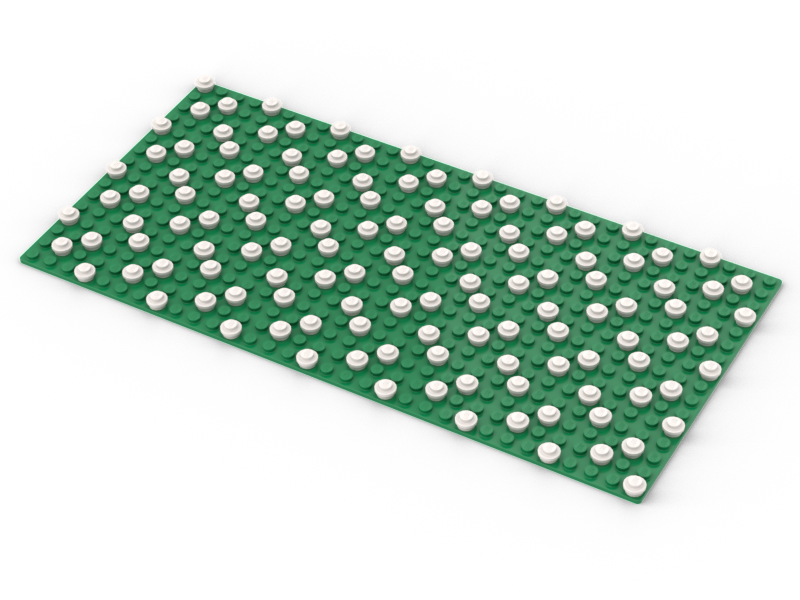
The code will scan a board showing the dots as it goes, then clear the screen, and reshow the code from the scanned data. This can then be used as a base for something else.
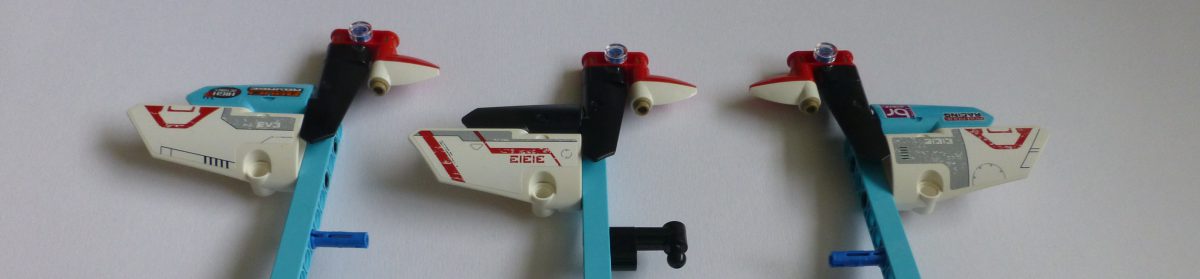
The past few times I’ve shown my loom at LEGO shows I’ve not been completely happy about the scanner / head unit. In the original build of the loom it was actually attached to the loom itself, so obviously part of it. Later revisions made it a stand-alone unit, which is good for showing it to people but visitors usually don’t realise it’s part of the loom.
At the most recent show, the scanning mechanism wasn’t working correctly. It’s not needed for the loom to work, as I wrote the code such that I can save good scans and re-weave them from memory. That’s useful at a show as it means I can keep the loom running without the 5 or so minute gap it requires to scan. I’d only scan when people were actively interested in that.
Time for a rethink !
There were two main things I wanted to do with the rebuild:
Have the scanner sit atop the loom, but still have it detachable.
Make it faster and more compact
Point 1 still needs tackling but my intention is to have it sit on top of the loom, behind the heddles. Back there it won’t block view of operation but will most definitely show that it’s part of the loom. It’ll sit on a ‘dock’ for want of a phrase that allows it to be lifted off to show underneath and the unit itself. I want it to be able to face forward or backward, so that I can see the display regardless of where I am at the time. I know roughly what I want to build but I’ll do that once everything’s working again.
New LEGO Parts = Compact Design
In the past couple of years LEGO have brought out a new worm gear. It’s 6L long, and a 90° rotation is one stud of lateral movement. There’s a 2 x 2 x 5plate threaded ‘nut’ that goes with them. This opened up a much better, and compact, way for me to do the X-axis motion on the scanner. The original build has a rack and pinion system, which meant the scanner needed around 42L of space due to the scanning arm extending beyond the body during operation. The new design is only 29L wide and stays that width in use.
The new gear ‘nut’ is a little tricky to work with as it’s 5 plates high, essentially one brick ± 1 plate. It does mean the worm gear axis aligns on a Technic beam hole, but did require some thought as to how to attach it to studless parts.
Modelling it all
Before I get on with any coding, I’m going to make the BIs first. I keep saying I’ll do BIs for the loom, so every time I make something new I model it then. I’ve still got to take the loom apart to model the inside someday. I’ll probably take that as an opportunity to give it a good clean and gently silicone lubricate some parts.
I only started last night on the BIs, so I’ve gone for the easy bits first 🙂
Coding
Coding’s going to be interesting. I’ve not written EV3g in a little while but I’ll get back into it quick enough. I have an old Macbook Air specifically for that software. I’ll need to read how I wrote the original scanner first as I want to make this a drop-in replacement – that’ll be fun going “how did I make this work?”