Braill3 Mk2 – Redesigned LEGO Braille Bricks Reader

Original Braill3

A little over a year ago I designed a Braille Bricks reader. I was pleased with how that came out, until I tried to demonstrate it at a show. It was struggling to accurately read the boards. After some thought it became clear that the whole structure was too flexible and the table at the show was uneven which was causing the problem. Since the bot moved over the entirety of the board, there could be variations in height of the bricks causing the misreads.

Redesign

For various reasons I didn’t tackle the issue with the misread for several months. When it came up to the next show I still hadn’t tackled it, so I decided that I’d revisit it after the show.

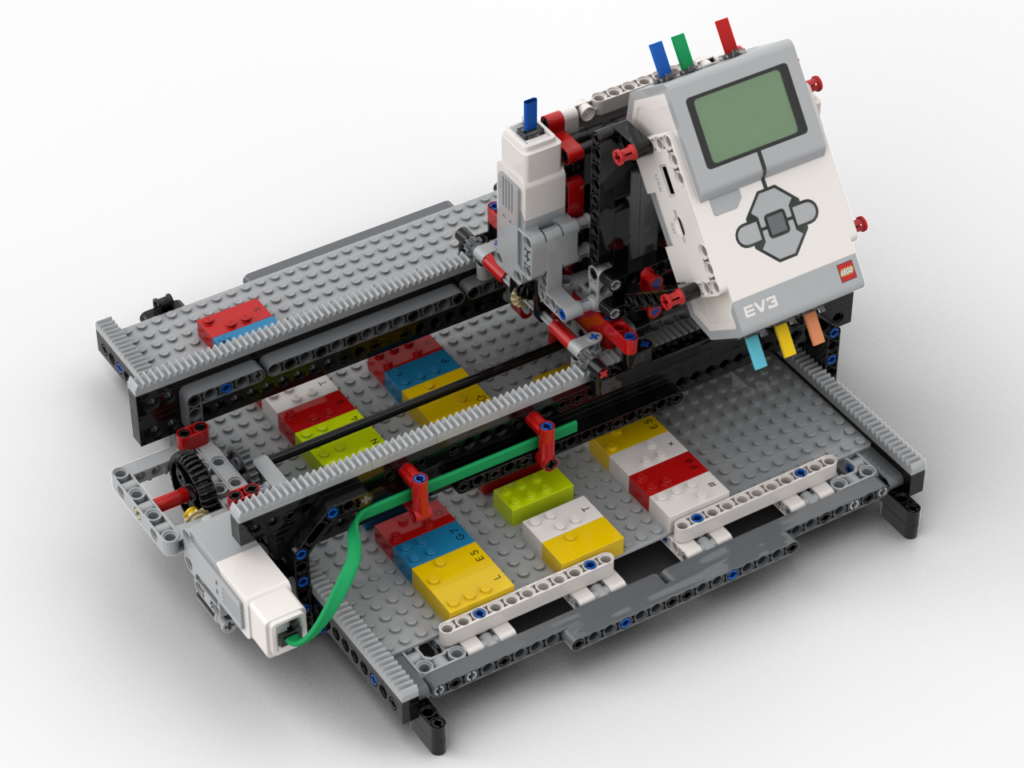
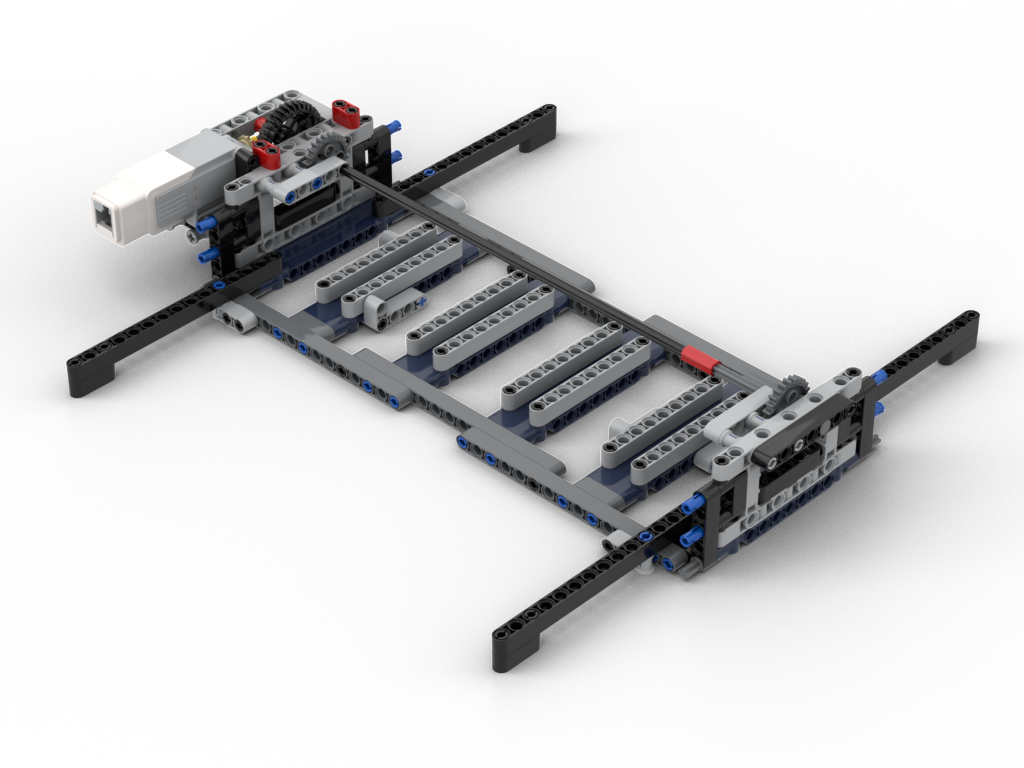
To make things sturdier I decided that the bot would stay in one place (whilst reading) and the board would move underneath it – in a very similar manner to my loom’s pattern scanner. This would allow the ‘bridge’ structure to be stronger as it would be anchored properly underneath and, also, a consistent support under the board. It does, however, mean the bot needs more space to operate; the original one needed ~40L horizontal space vs ~66 for the Mk2. I think that’s acceptable for the purposes or showing.
(Re)Coding

When it came to recoding, I was rather fortunate. The original design used a 1:1 gear ratio driving an 8T gear to move the board. This one, to resist gear skipping, uses a 24T gear, so I’d need to down gear 1:3. By fluke I’d decided to reduce the load on the motor by using the 12:36 gearing (visible in the pictures above), so ultimately it was still a 1:1 gear! All I needed to do was change the direction of the motor which is easy to do in Pybricks on ev3dev.

I also needed to tackle the ‘touch’ sensing code. The original design’s ‘bridge’ would sag, which meant the ‘finger tips’ were closer to the board than on the redesign. This had a knock on effect that the test for a column with no studs could fail and be detected as no brick present, i.e. a space. All that was essentially needed was to extend that range a little along with some other logic changes.

Sound Quality

Another thing I wanted was to make it louder, again for the purposes of showing. I’ve blogged about that recently in External (USB) Audio on EV3 Using ev3dev

BIs and Code

As usual, I’ve released the code and BIs under a Creative Commons Attribution-NonCommercial-ShareAlike 4.0 International CC BY-NC-SA 4.0 deed

External (USB) Audio on EV3 Using ev3dev

Recently, whilst working on my Braille Reader rebuild, I decided that it was time to investigate options for an external speaker to increase the volume, as the onboard speaker is rather quiet.

Bluetooth Speaker

I’d seen that other people had managed to get Bluetooth speakers working with ev3dev and Pulseaudio, so since I had a BT speaker lying around I thought I’d give it a go. Unfortunately it wouldn’t connect. The EV3 would see it, pair, but any attempt to connect resulted in a Bluez error. It was an old speaker so I decided I’d get a new Anker (I’m a fan of their stuff) one, which would also see duty with my bat detector as well. That also didn’t connect. I’m guessing that the EV3 wants to use a rather old protocol that neither of my speakers supported, which is a shame.

USB Audio

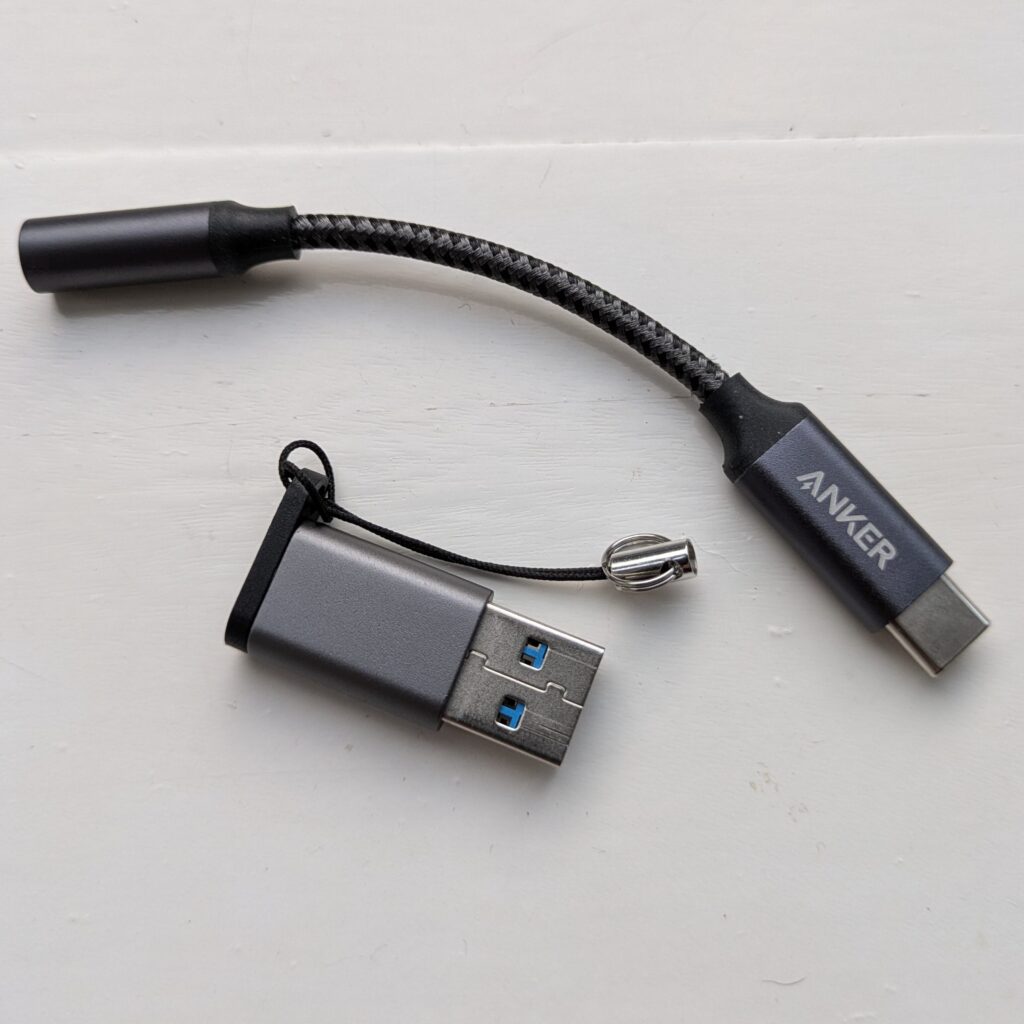
Not one to give up on using an external speaker I wondered if USB audio would work instead. When I changed my phone, I ended up buying an Anker USB-C to 3.5mm headphone DAC:

I did need to use a USB-A to USB-C adapter, but it worked. It worked really well, on the whole. Using USB alone didn’t require Pulseaudio to be installed once I’d set up the .asoundrc file in ~robot:

defaults.pcm.card 1
defaults.ctl.card 1

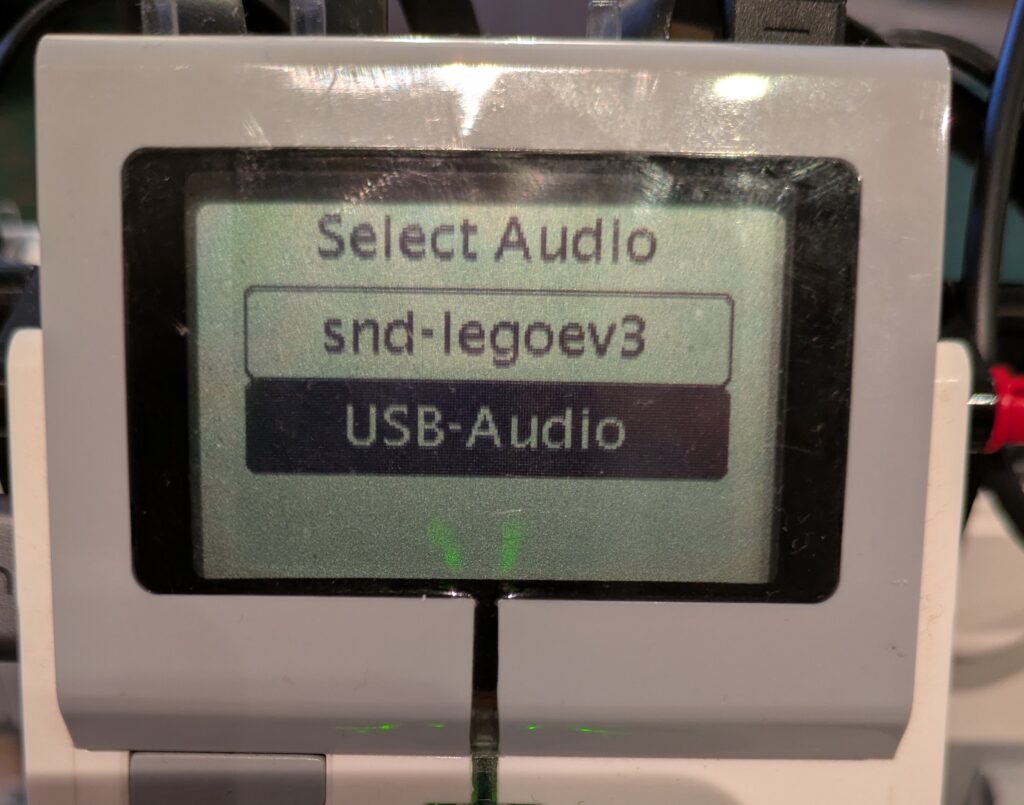
The downside to using .asoundrc is that if the USB adapter wasn’t plugged in, there’d be no output. So I decided I write a little audio configure function that could be called at the start of my program to detect if there were any additional audio outputs and present a menu of choices, defaulting to the current one in .asoundrc:

If only the onboard audio is available, no menu will be shown and it sets the .asoundrc to use device 0.

Issues

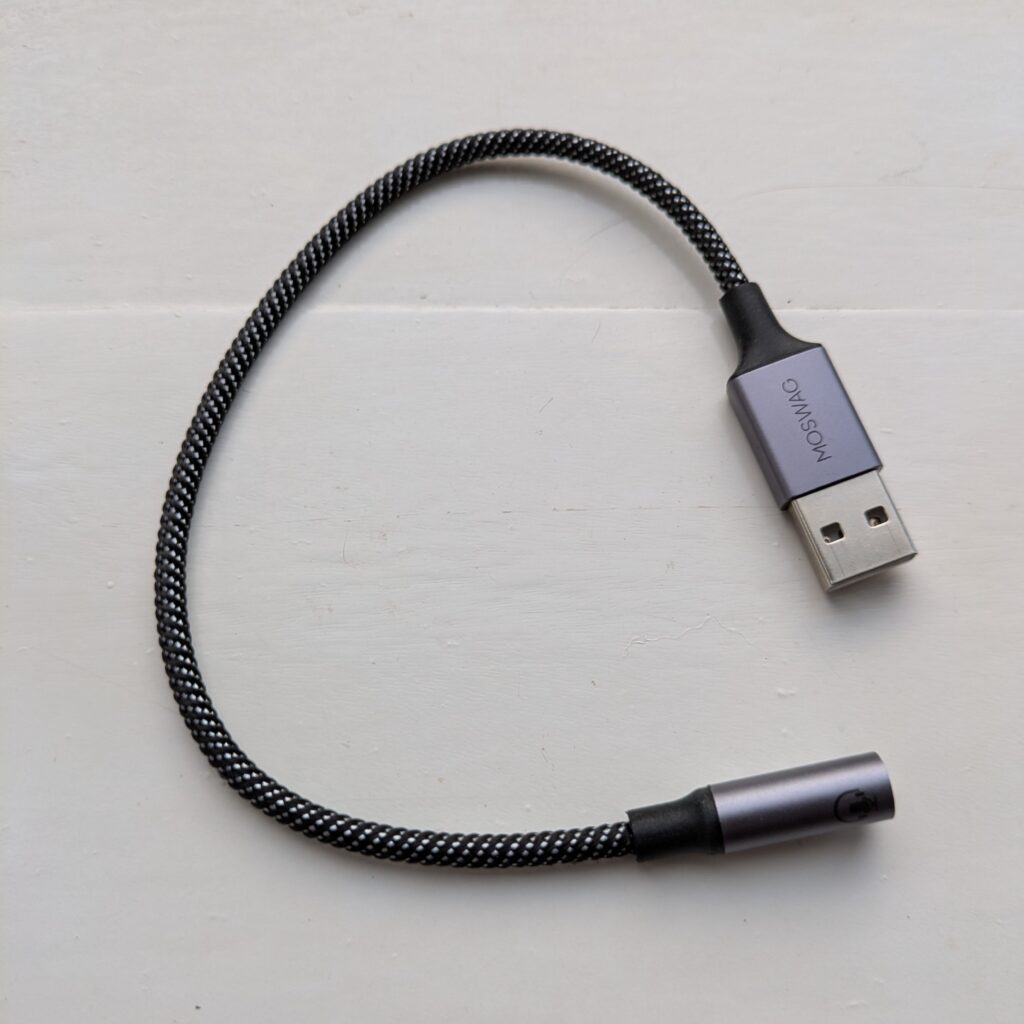
So that I didn’t need to use the USB-A to USB-C adapter I did buy a USB-A audio device:

I wouldn’t suggest using that one. It’s very, very, quiet and the audio quality is poor. It glitches and, worst of all, it chops off the beginning of any sounds played to it which, given I want to use it for speech output, isn’t useful. The Anker unit is just so much better: louder, smoother, and plays the entire sound.

The other issue I came across is that using the ev3.speaker.say(…) function would often crash. It appears that the EV3 isn’t powerful enough to manage sending USB data whilst generating speech via espeak and sending that on to aplay. My answer to that is to manage all that in my own code and temporarily write the speech output to the /run/user/1000 tmpfs directory – that way it won’t damage the SD card:

    def Speak(self, text, filename=None):
        if filename:
            play = False
        else:
            filename = "/run/user/1000/speech.wav"
            play = True

        os.system(
            "espeak -a {} -v {} -s {} -p -w {} '{}'".format(
                self.speech['volume'],
                self.speech['voice'],
                self.speech['speed'],
                self.speech['pitch'],
                filename,
                text
            )
        )

        if play:
            self.ev3.speaker.play_file(filename)

The code above accepts a filename as, for the Braille reader, I pre-generate some cached text prompts.

Utils Code Library

I’ll blog separately, but I refactored all the code that was used to generate the device selection menu et al into its own package so that I could release that. Hopefully it’ll be useful to someone else.