
Original Braill3
A little over a year ago I designed a Braille Bricks reader. I was pleased with how that came out, until I tried to demonstrate it at a show. It was struggling to accurately read the boards. After some thought it became clear that the whole structure was too flexible and the table at the show was uneven which was causing the problem. Since the bot moved over the entirety of the board, there could be variations in height of the bricks causing the misreads.
Redesign
For various reasons I didn’t tackle the issue with the misread for several months. When it came up to the next show I still hadn’t tackled it, so I decided that I’d revisit it after the show.
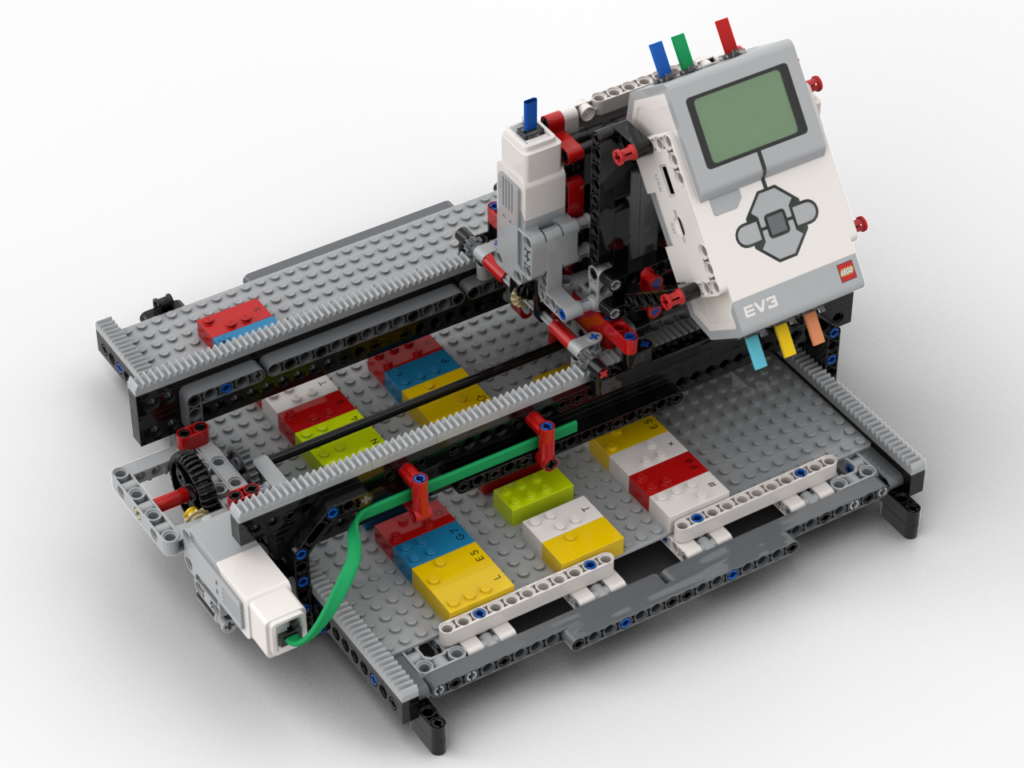
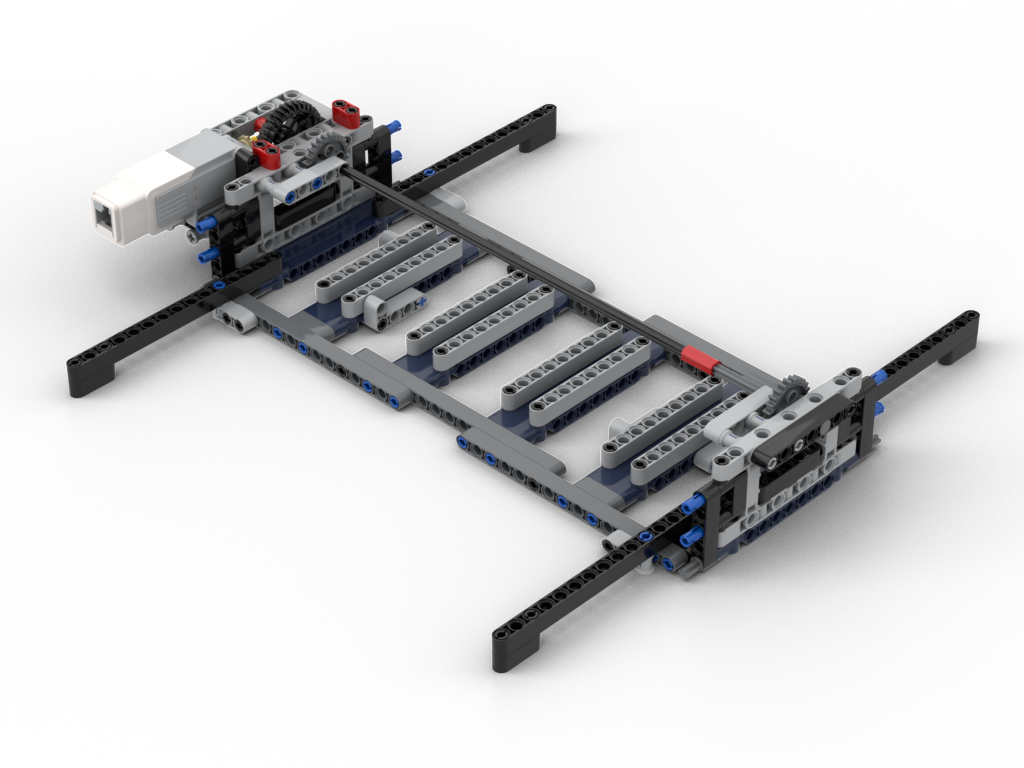
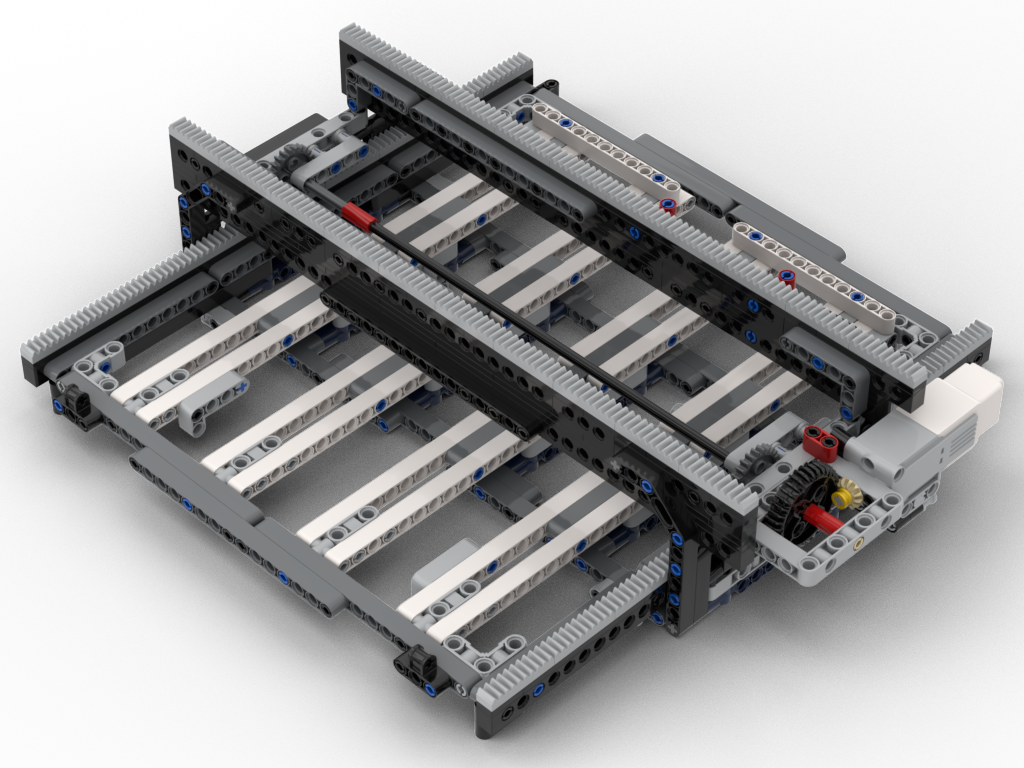
To make things sturdier I decided that the bot would stay in one place (whilst reading) and the board would move underneath it – in a very similar manner to my loom’s pattern scanner. This would allow the ‘bridge’ structure to be stronger as it would be anchored properly underneath and, also, a consistent support under the board. It does, however, mean the bot needs more space to operate; the original one needed ~40L horizontal space vs ~66 for the Mk2. I think that’s acceptable for the purposes or showing.
(Re)Coding
When it came to recoding, I was rather fortunate. The original design used a 1:1 gear ratio driving an 8T gear to move the board. This one, to resist gear skipping, uses a 24T gear, so I’d need to down gear 1:3. By fluke I’d decided to reduce the load on the motor by using the 12:36 gearing (visible in the pictures above), so ultimately it was still a 1:1 gear! All I needed to do was change the direction of the motor which is easy to do in Pybricks on ev3dev.
I also needed to tackle the ‘touch’ sensing code. The original design’s ‘bridge’ would sag, which meant the ‘finger tips’ were closer to the board than on the redesign. This had a knock on effect that the test for a column with no studs could fail and be detected as no brick present, i.e. a space. All that was essentially needed was to extend that range a little along with some other logic changes.
Sound Quality
Another thing I wanted was to make it louder, again for the purposes of showing. I’ve blogged about that recently in External (USB) Audio on EV3 Using ev3dev
BIs and Code
As usual, I’ve released the code and BIs under a Creative Commons Attribution-NonCommercial-ShareAlike 4.0 International CC BY-NC-SA 4.0 deed
- Code: braill3-mk2.zip
- BIs: Braill3-Mk2.pdf