EV3 Pattern Board Scanner

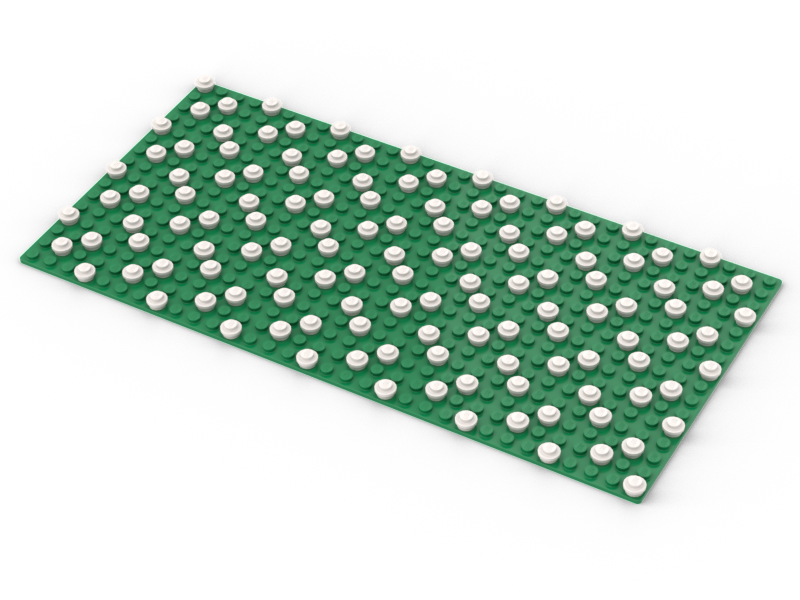
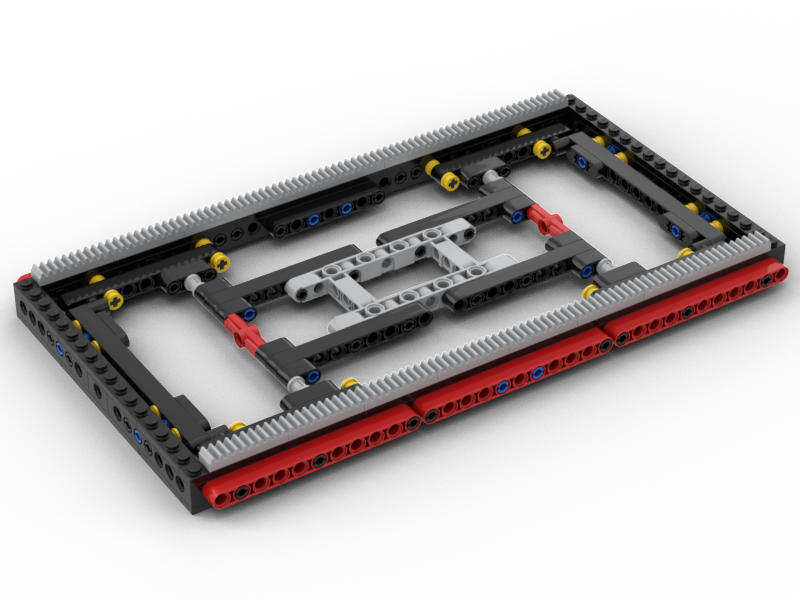
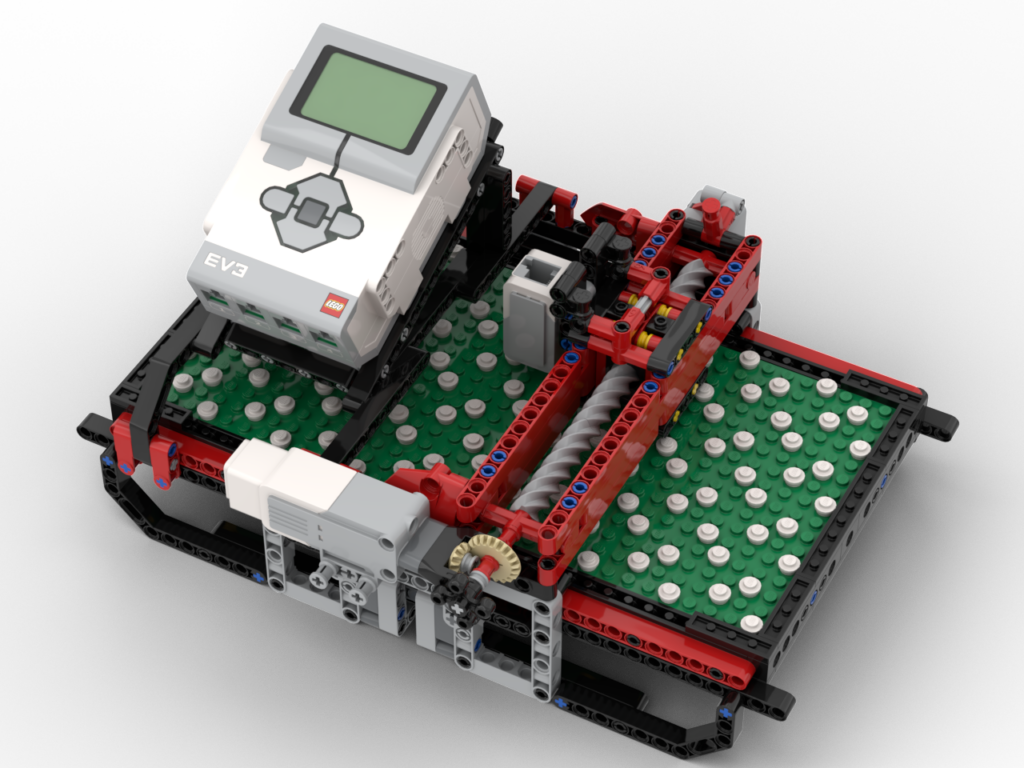
My redesign of the pattern board scanner part of my loom is basically complete. As it currently stands it’s a standalone scanner. It works ! It’s much faster than the old system and is really clean in its operation. I need to retrofit the new code into the loom controller code, which I’ll do in a few days’ time. Before that I want to deal with how the unit will sit on top of the loom, so I need to put the loom back into its operating state and get thinking.

Releasing the BIs and Code

Since this is working as a standalone device, and I’ve posted about it a couple of times on Facebook:

https://www.facebook.com/groups/legomindstorms/posts/3121354191346119
https://www.facebook.com/groups/legomindstorms/posts/3125960860885452

I’m, as usual, going to post the BIs and code for public use. I’m licensing them under the Creative Commons Attribution-NonCommercial-Sharealike 4.0 International licence CC-BY-NC-SA 4.0

The BIs are here: https://jander.me.uk/LEGO/resources/Scann3r.pdf
The EV3g code is here: https://jander.me.uk/LEGO/resources/Scann3r.ev3

There are no cables in the BIs – they’re a pain to route so I’ve left them out. The cabling ports and cable lengths are in the BIs. Routing them is left as as challenge to the builder 😉

The code will scan a board showing the dots as it goes, then clear the screen, and reshow the code from the scanned data. This can then be used as a base for something else.

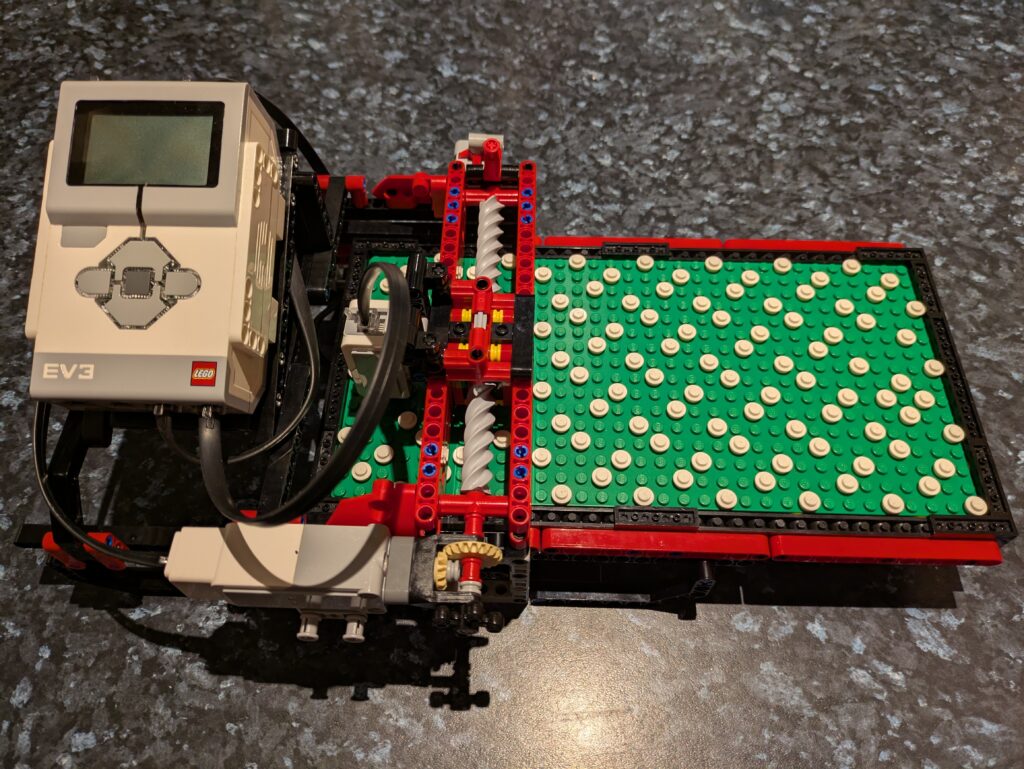
Redesigning the Loom Scanner

The past few times I’ve shown my loom at LEGO shows I’ve not been completely happy about the scanner / head unit. In the original build of the loom it was actually attached to the loom itself, so obviously part of it. Later revisions made it a stand-alone unit, which is good for showing it to people but visitors usually don’t realise it’s part of the loom.

At the most recent show, the scanning mechanism wasn’t working correctly. It’s not needed for the loom to work, as I wrote the code such that I can save good scans and re-weave them from memory. That’s useful at a show as it means I can keep the loom running without the 5 or so minute gap it requires to scan. I’d only scan when people were actively interested in that.

Time for a rethink !

There were two main things I wanted to do with the rebuild:

  1. Have the scanner sit atop the loom, but still have it detachable.
  2. Make it faster and more compact

Point 1 still needs tackling but my intention is to have it sit on top of the loom, behind the heddles. Back there it won’t block view of operation but will most definitely show that it’s part of the loom. It’ll sit on a ‘dock’ for want of a phrase that allows it to be lifted off to show underneath and the unit itself. I want it to be able to face forward or backward, so that I can see the display regardless of where I am at the time. I know roughly what I want to build but I’ll do that once everything’s working again.

New LEGO Parts = Compact Design

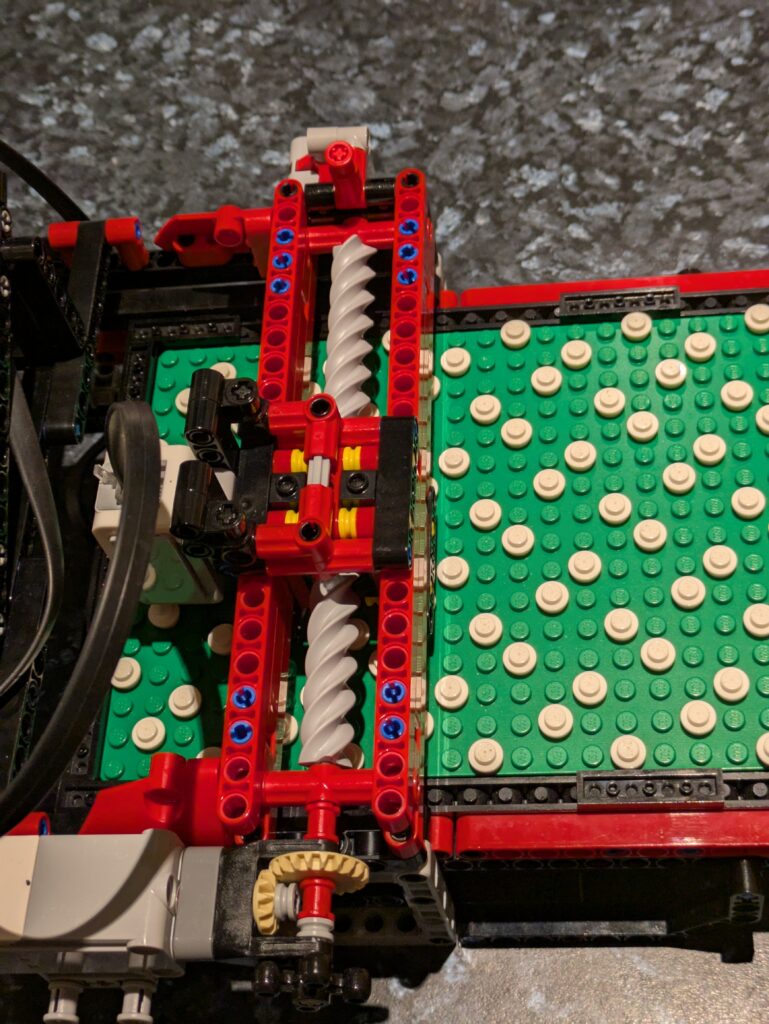
In the past couple of years LEGO have brought out a new worm gear. It’s 6L long, and a 90° rotation is one stud of lateral movement. There’s a 2 x 2 x 5plate threaded ‘nut’ that goes with them. This opened up a much better, and compact, way for me to do the X-axis motion on the scanner. The original build has a rack and pinion system, which meant the scanner needed around 42L of space due to the scanning arm extending beyond the body during operation. The new design is only 29L wide and stays that width in use.

The new gear ‘nut’ is a little tricky to work with as it’s 5 plates high, essentially one brick ± 1 plate. It does mean the worm gear axis aligns on a Technic beam hole, but did require some thought as to how to attach it to studless parts.

Modelling it all

Before I get on with any coding, I’m going to make the BIs first. I keep saying I’ll do BIs for the loom, so every time I make something new I model it then. I’ve still got to take the loom apart to model the inside someday. I’ll probably take that as an opportunity to give it a good clean and gently silicone lubricate some parts.

I only started last night on the BIs, so I’ve gone for the easy bits first 🙂

Coding

Coding’s going to be interesting. I’ve not written EV3g in a little while but I’ll get back into it quick enough. I have an old Macbook Air specifically for that software. I’ll need to read how I wrote the original scanner first as I want to make this a drop-in replacement – that’ll be fun going “how did I make this work?”

Updated EV3g Mailbox Messaging in Python

Previously I posted an article on handling EV3g binary Mailbox messages under Python3. Since then I have carried on working on this class, along with adding a handler class.

Improved Mailbox Handling

One of the things I wasn’t so keen on with my implementation was the need to specify the type of Mailbox value, i.e. BOOL, NUMBER, or TEXT. Python’s variables have their own type, so the code has been adjusted to use the value’s own type to determine the binary payload format. It is still possible to coerce the type:

from ev3mailbox import EV3Mailbox

float_msg  = EV3Mailbox("Pi", 3.1415)

# Coerce to a string
string_msg = EV3Mailbox("Pie", 3.1415, str)

These changes have made the use of this side of the code much cleaner.

Mailbox I/O Handler

Whilst working on my use case for the original code, I had been working on the principle that I’d be using it in a simple synchronous send/receive pattern. This worked well, until I started using threads at both sides of the ev3dev <-> EV3g link. Once threads were in the mix, there’s a risk that the bt_socket.recv(…) call could actually receive a message that wasn’t destined for that particular call, but for another area of the program.

The solution to the above problem was to implement a receiving thread that deals with all the socket.recv(…) calls. Each message is decoded, and then each Mailbox name has its own FIFO of message objects. It’s a deliberate choice to maintain the list of objects, rather than just their values, so that they can be forced to floats if it’s known they may be very small – see my previous post about that problem.

The new class implements a handler that will deal with all the Bluetooth and thread side of things. All that’s then required to do is call send(…), get(…), or stop() on the class instance:

from ev3messages import EV3Messages

handler = EV3Message(bt_mac_address)

handler.send("Name", value)
msg = handler.get("ANOther")
value = msg.value

handler.stop()

The calls to send(…) and get(…) should (!) be thread safe, so calls to get(…) wait on receiving a message of the requested name.

Code Repo

The repo is available from: https://gitlab.com/Jander/ev3-mailbox-python and is released under the GPLv3.

EV3 Mailboxes in Python

Recently I wanted to enter the Alexa / LEGO MINDSTORMS challenge:

https://www.hackster.io/contests/alexa-lego-voice-challenge

My idea required being able to send EV3 Mailbox messages via Bluetooth between ev3dev and a stock EV3 running the EV3g language – from Python. I’m new to Python, I’m a Perl programmer at heart, so this was somewhat of a learning curve moment. I had to get to grips with Bluetooth (not that difficult as I’m used the IP networking) and Python at the same time.

I figured that one of the major selling points of Python was its extensive library of support functions, so set to looking for something providing EV3 Mailbox handling. My research wasn’t as fruitful as I’d hoped for. I could find various chunks of code but either they were flawed in their behaviour, or much more heavyweight than I wanted. So I decided to jump in feet first and write my own library.

I’d written a library for App Inventor 2 [0] [1] [2] [3] [4] that would encode & decode EV3 Mailbox payloads before, so this wasn’t too daunting a task. One aspect of Mailbox messages is that there isn’t an identifier within the payload that identifies the content: String, Float (IEE754 32 bit), Boolean. Normally this is handled in EV3g by expecting a specific type relating to the message name – i.e. a message called “status” would be defined to always be a Boolean, but “command” would always be a String – the code forces the type to remain constant. However, the type of the payload can be deduced to some extent, so I decide that I’d implement that within the Python class:

  • Payload length = 1 byte => Boolean
  • Payload length = 4 bytes
    • Last byte != NULL or NULL in the other bytes => Float
    • Otherwise => String
  • All other payloads => String

The only issue with the logic above is that really, really, small numbers may get decoded as strings, e.g. “@@@\x00” would get seen as a string, not 5.90052e-39 which is also a valid decode of it. As such I also implemented a .force_float() method which will re-decode the payload.

The git repo for this library can be found at:

https://gitlab.com/Jander/ev3-mailbox-python

To use it do something like:

from ev3mailbox import EV3Mailbox as Mailbox

message = EV3Mailbox.encode("Name", "Message value", Mailbox.Type.TEXT)
print(message)

# Data from Bluetooth
 mailbox = EV3Mailbox.decode(payload)
 print(mailbox)

Hopefully this will prove useful to others. The code has been released under the GPLv3: https://www.gnu.org/licenses/gpl-3.0.txt